Well, really, tools of creating a new field:
- tractor
- bedder/mulcher – part 1 & part 2
- measuring stick – this post!
- tiller – this post!
- marker – this post!
- brand – this post!
- irrigation
Of course we needed the tractor and bedder/mulcher to make the beds, but the measuring stick we made was just as indispensible. We used it to place the tractor, place the bedder/mulcher, track width changes, layout the next row – and even used it in the initial planning with the orange flags! We had several measurements on it and handles for quick and easy measuring.

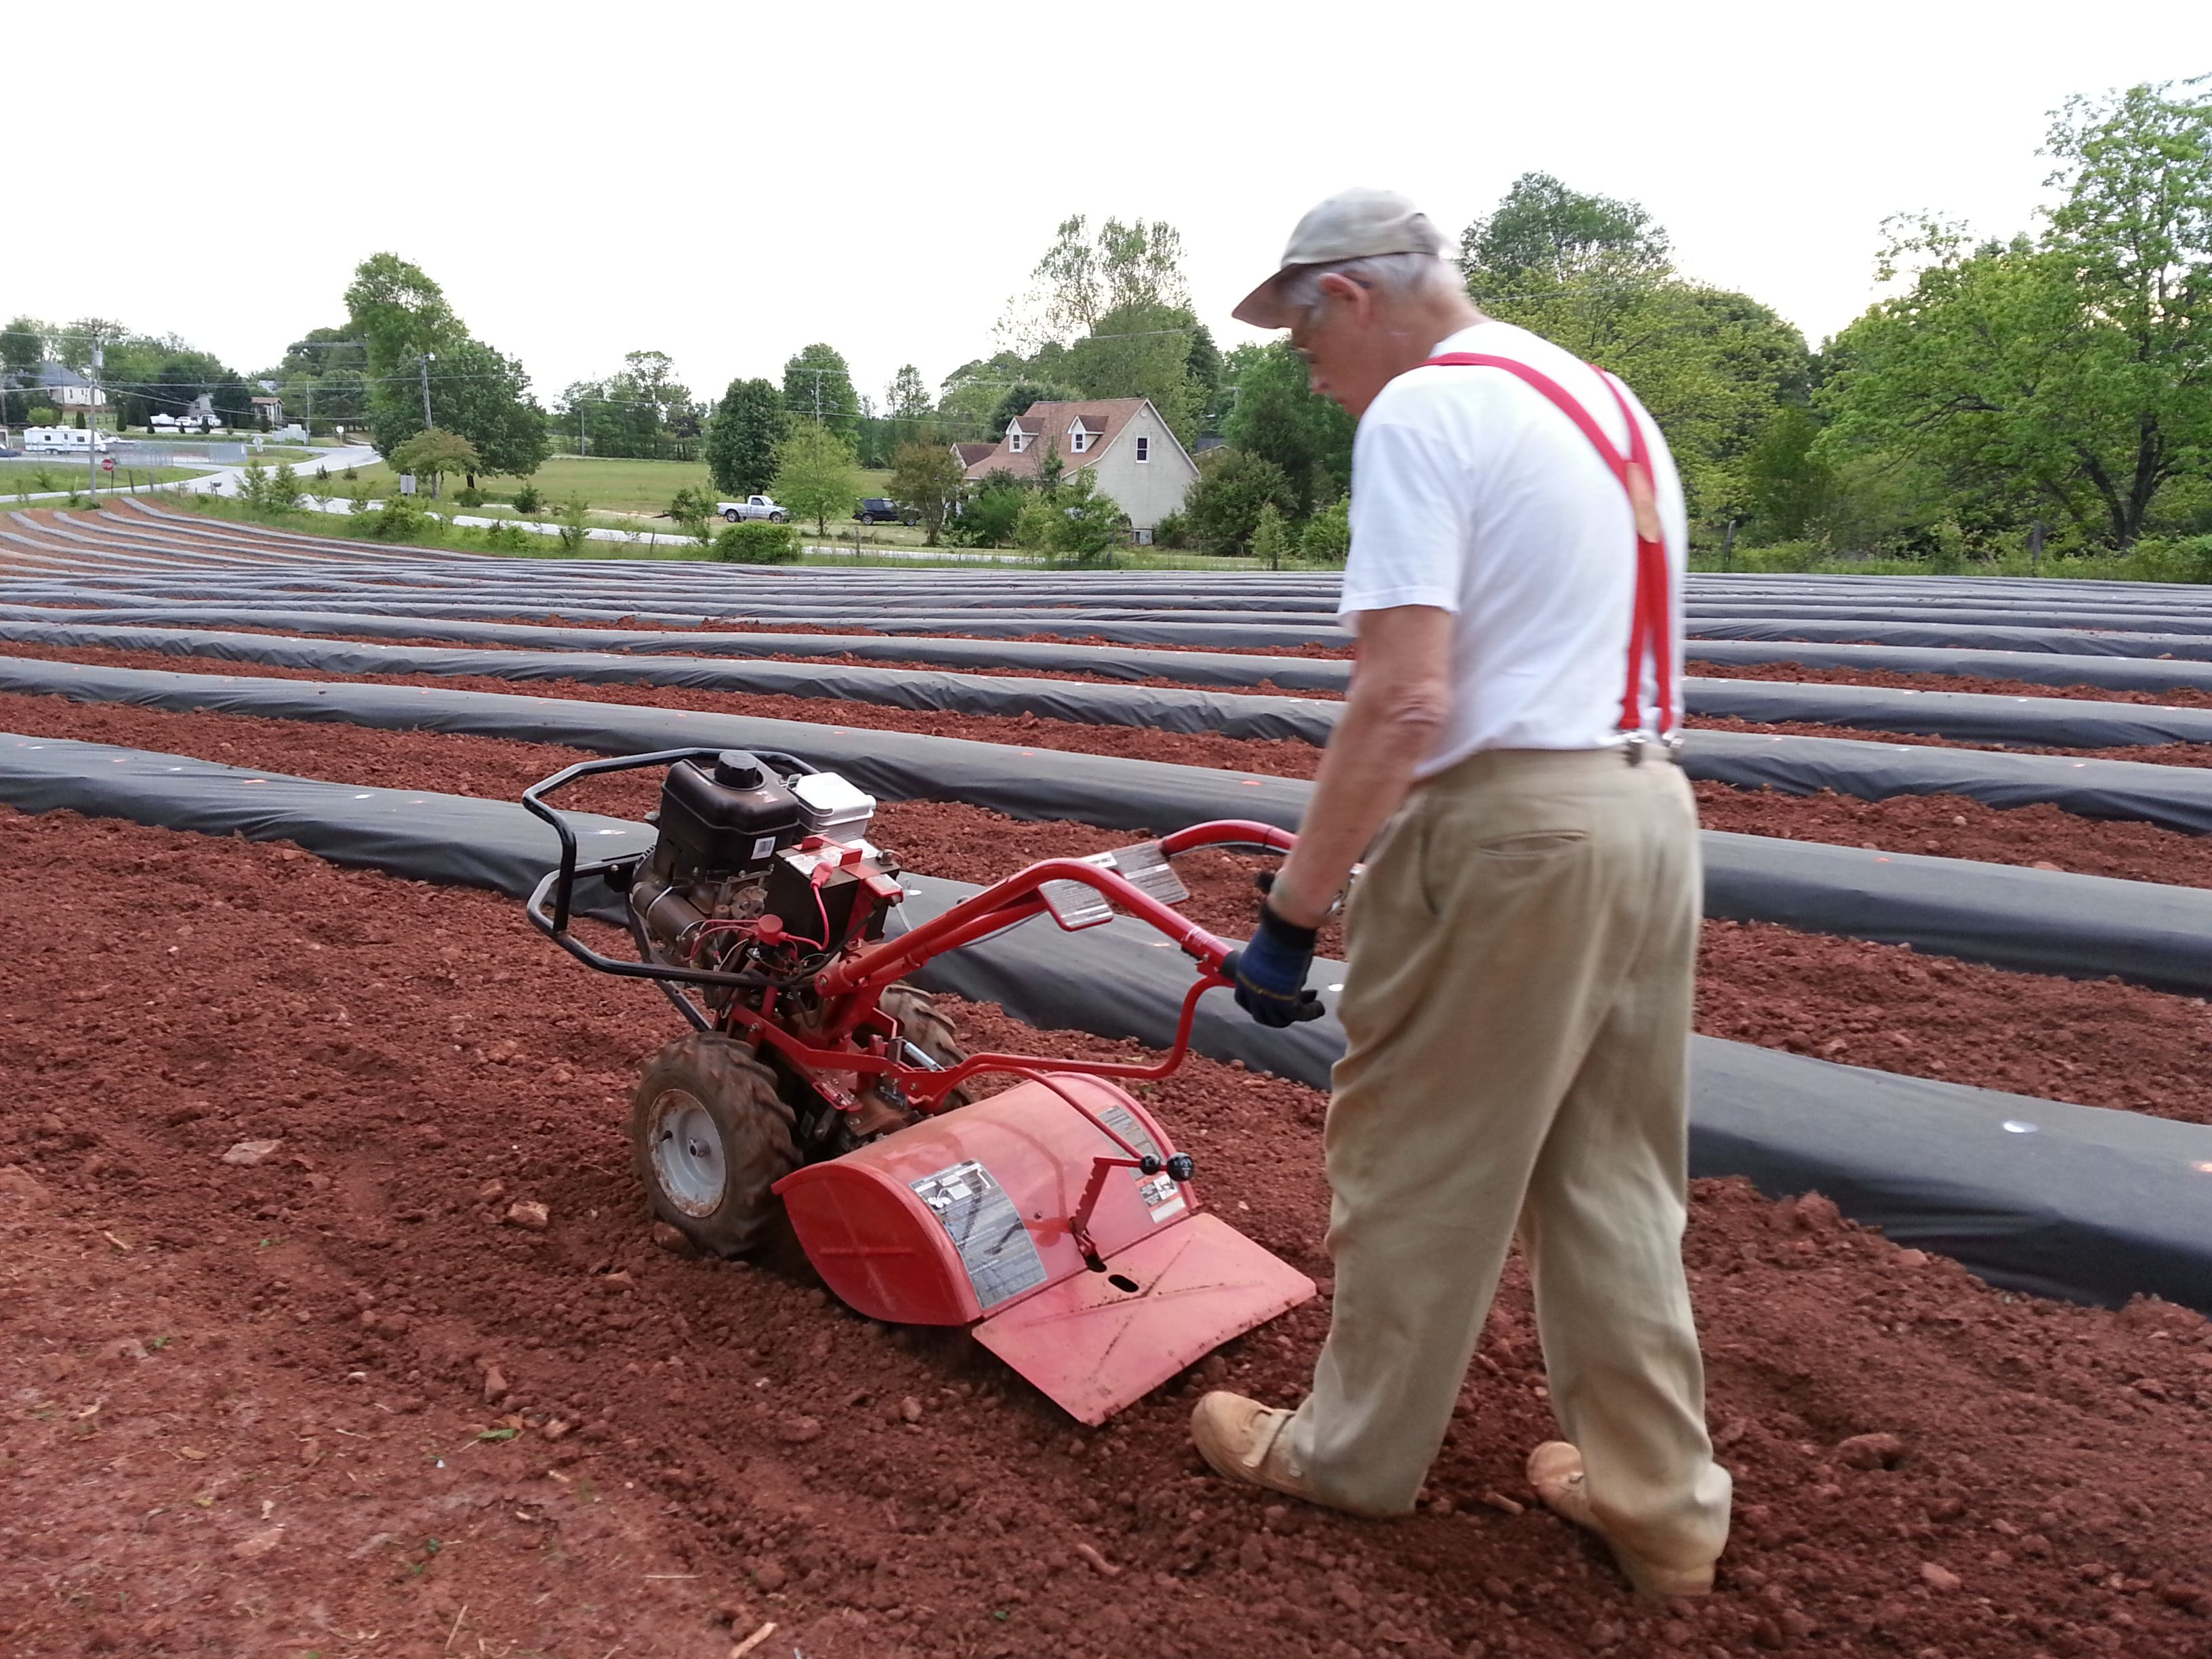
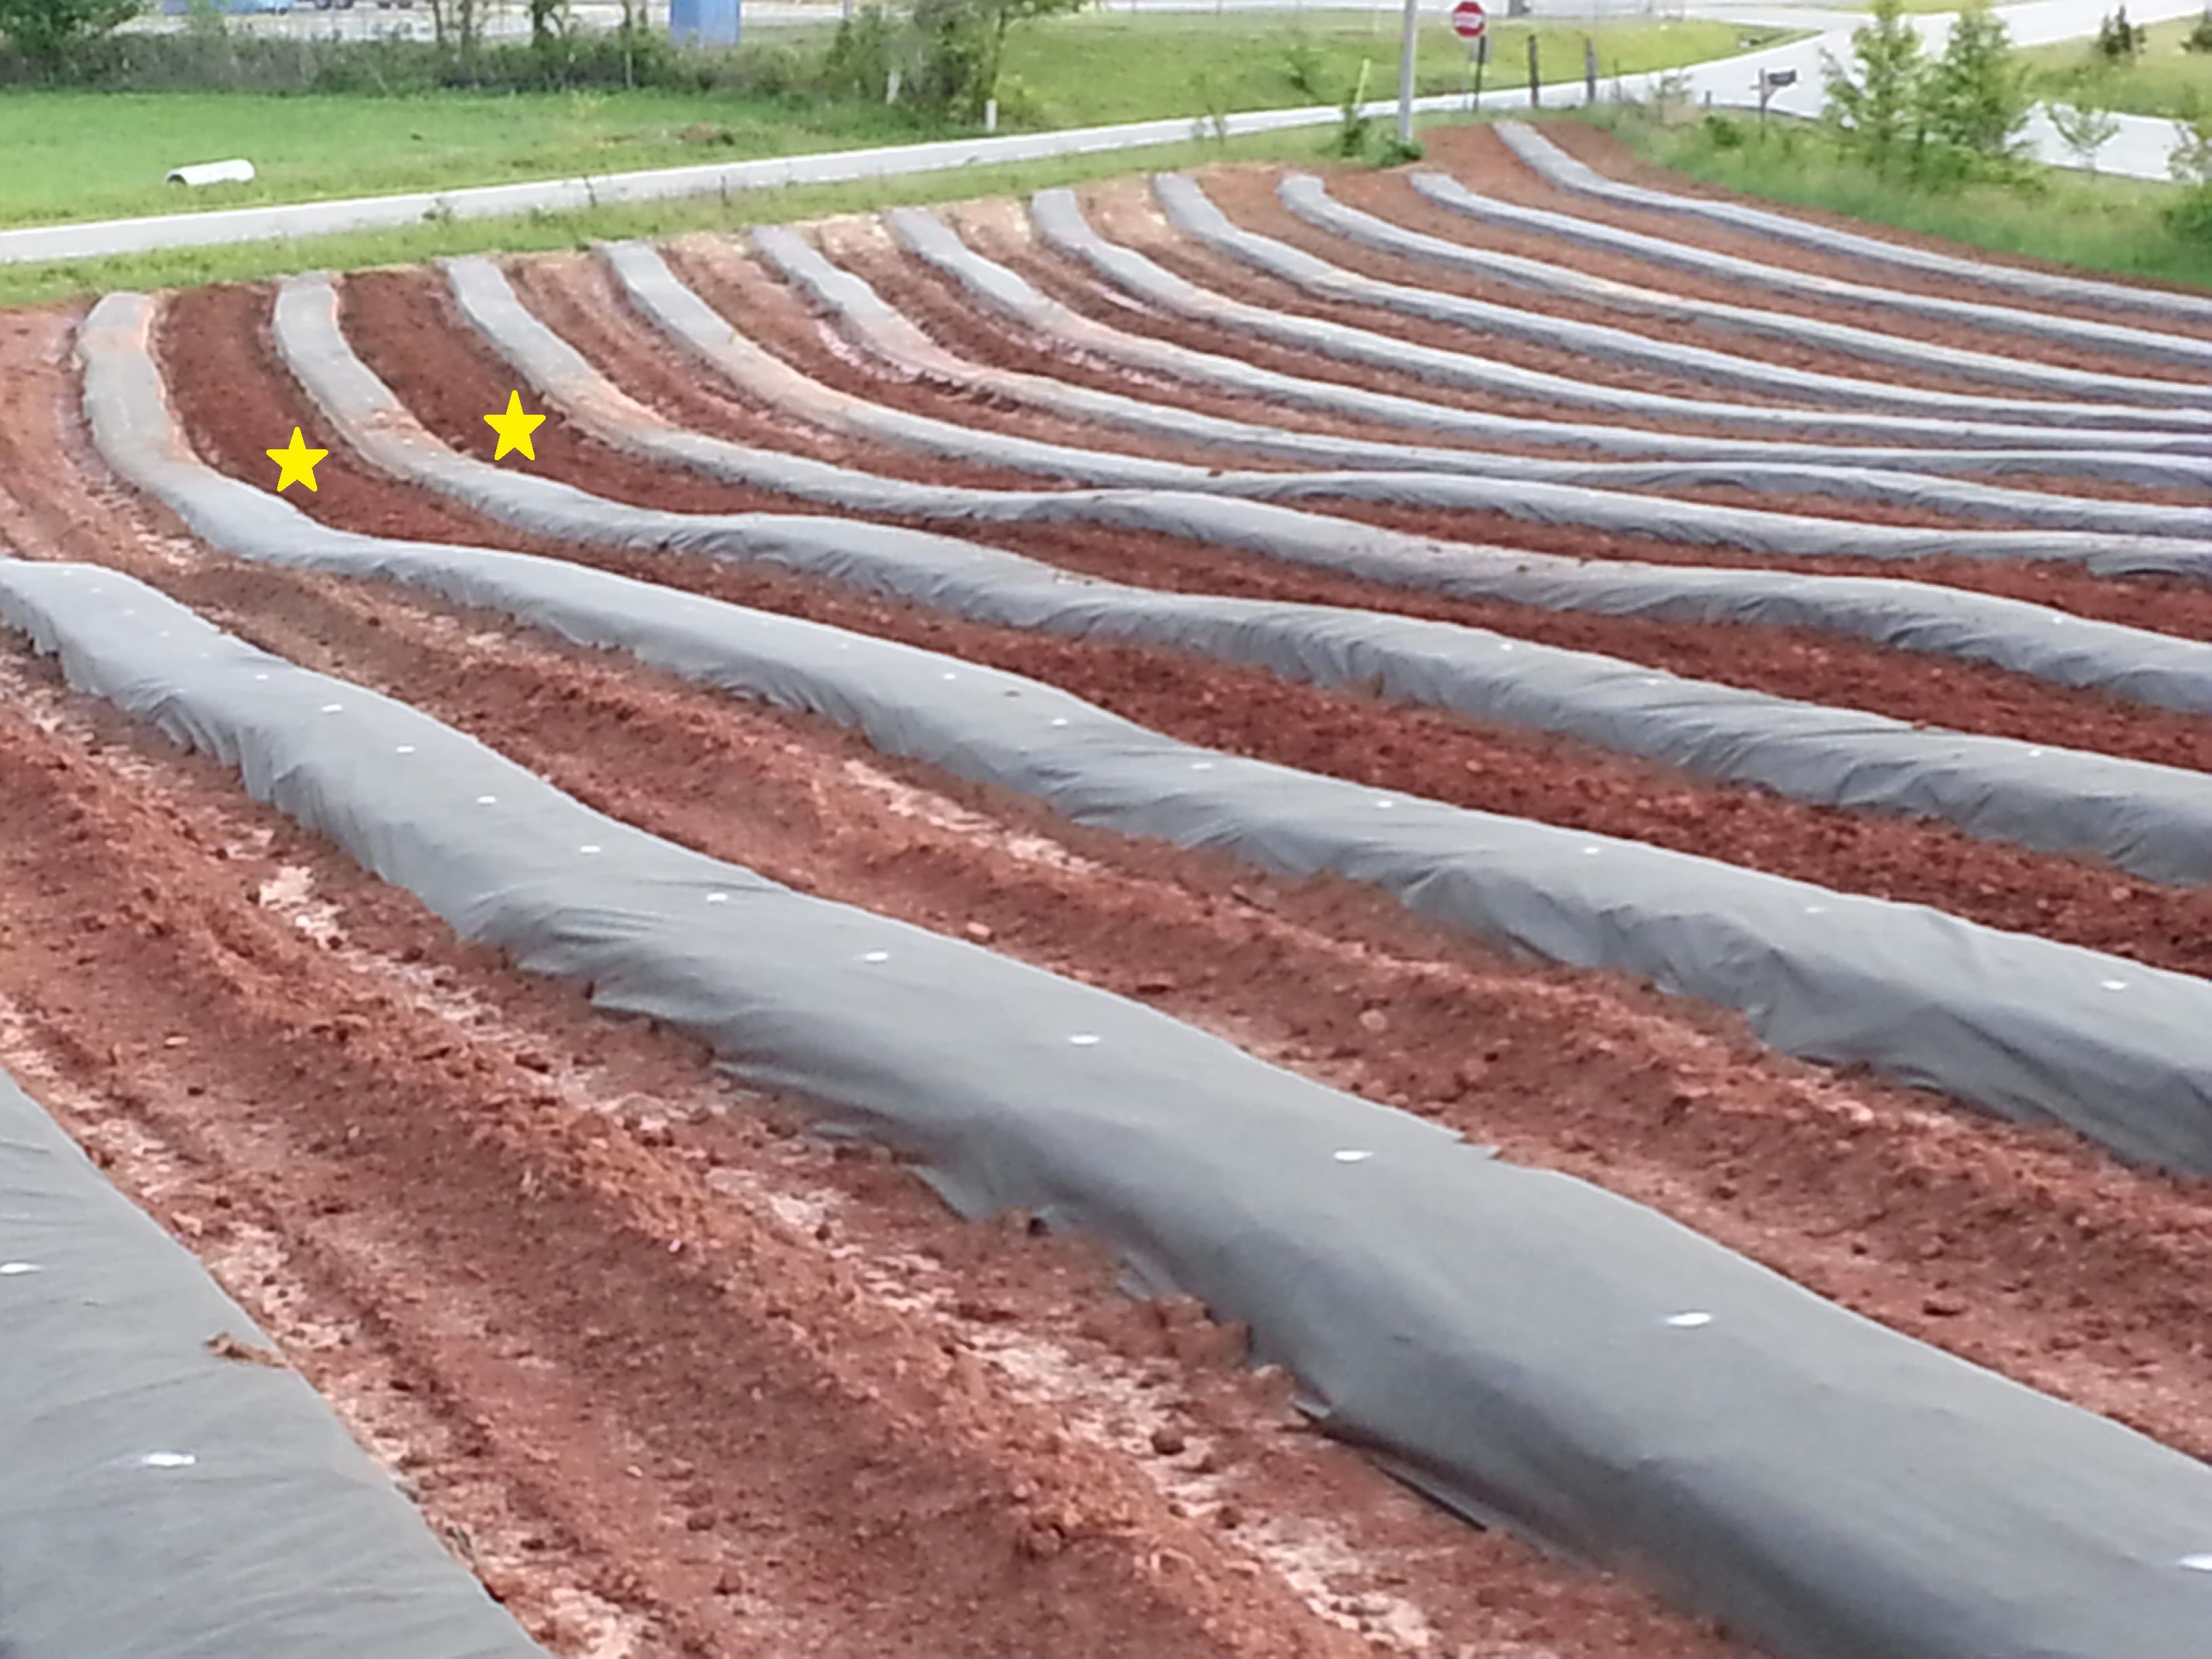
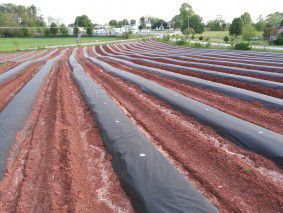
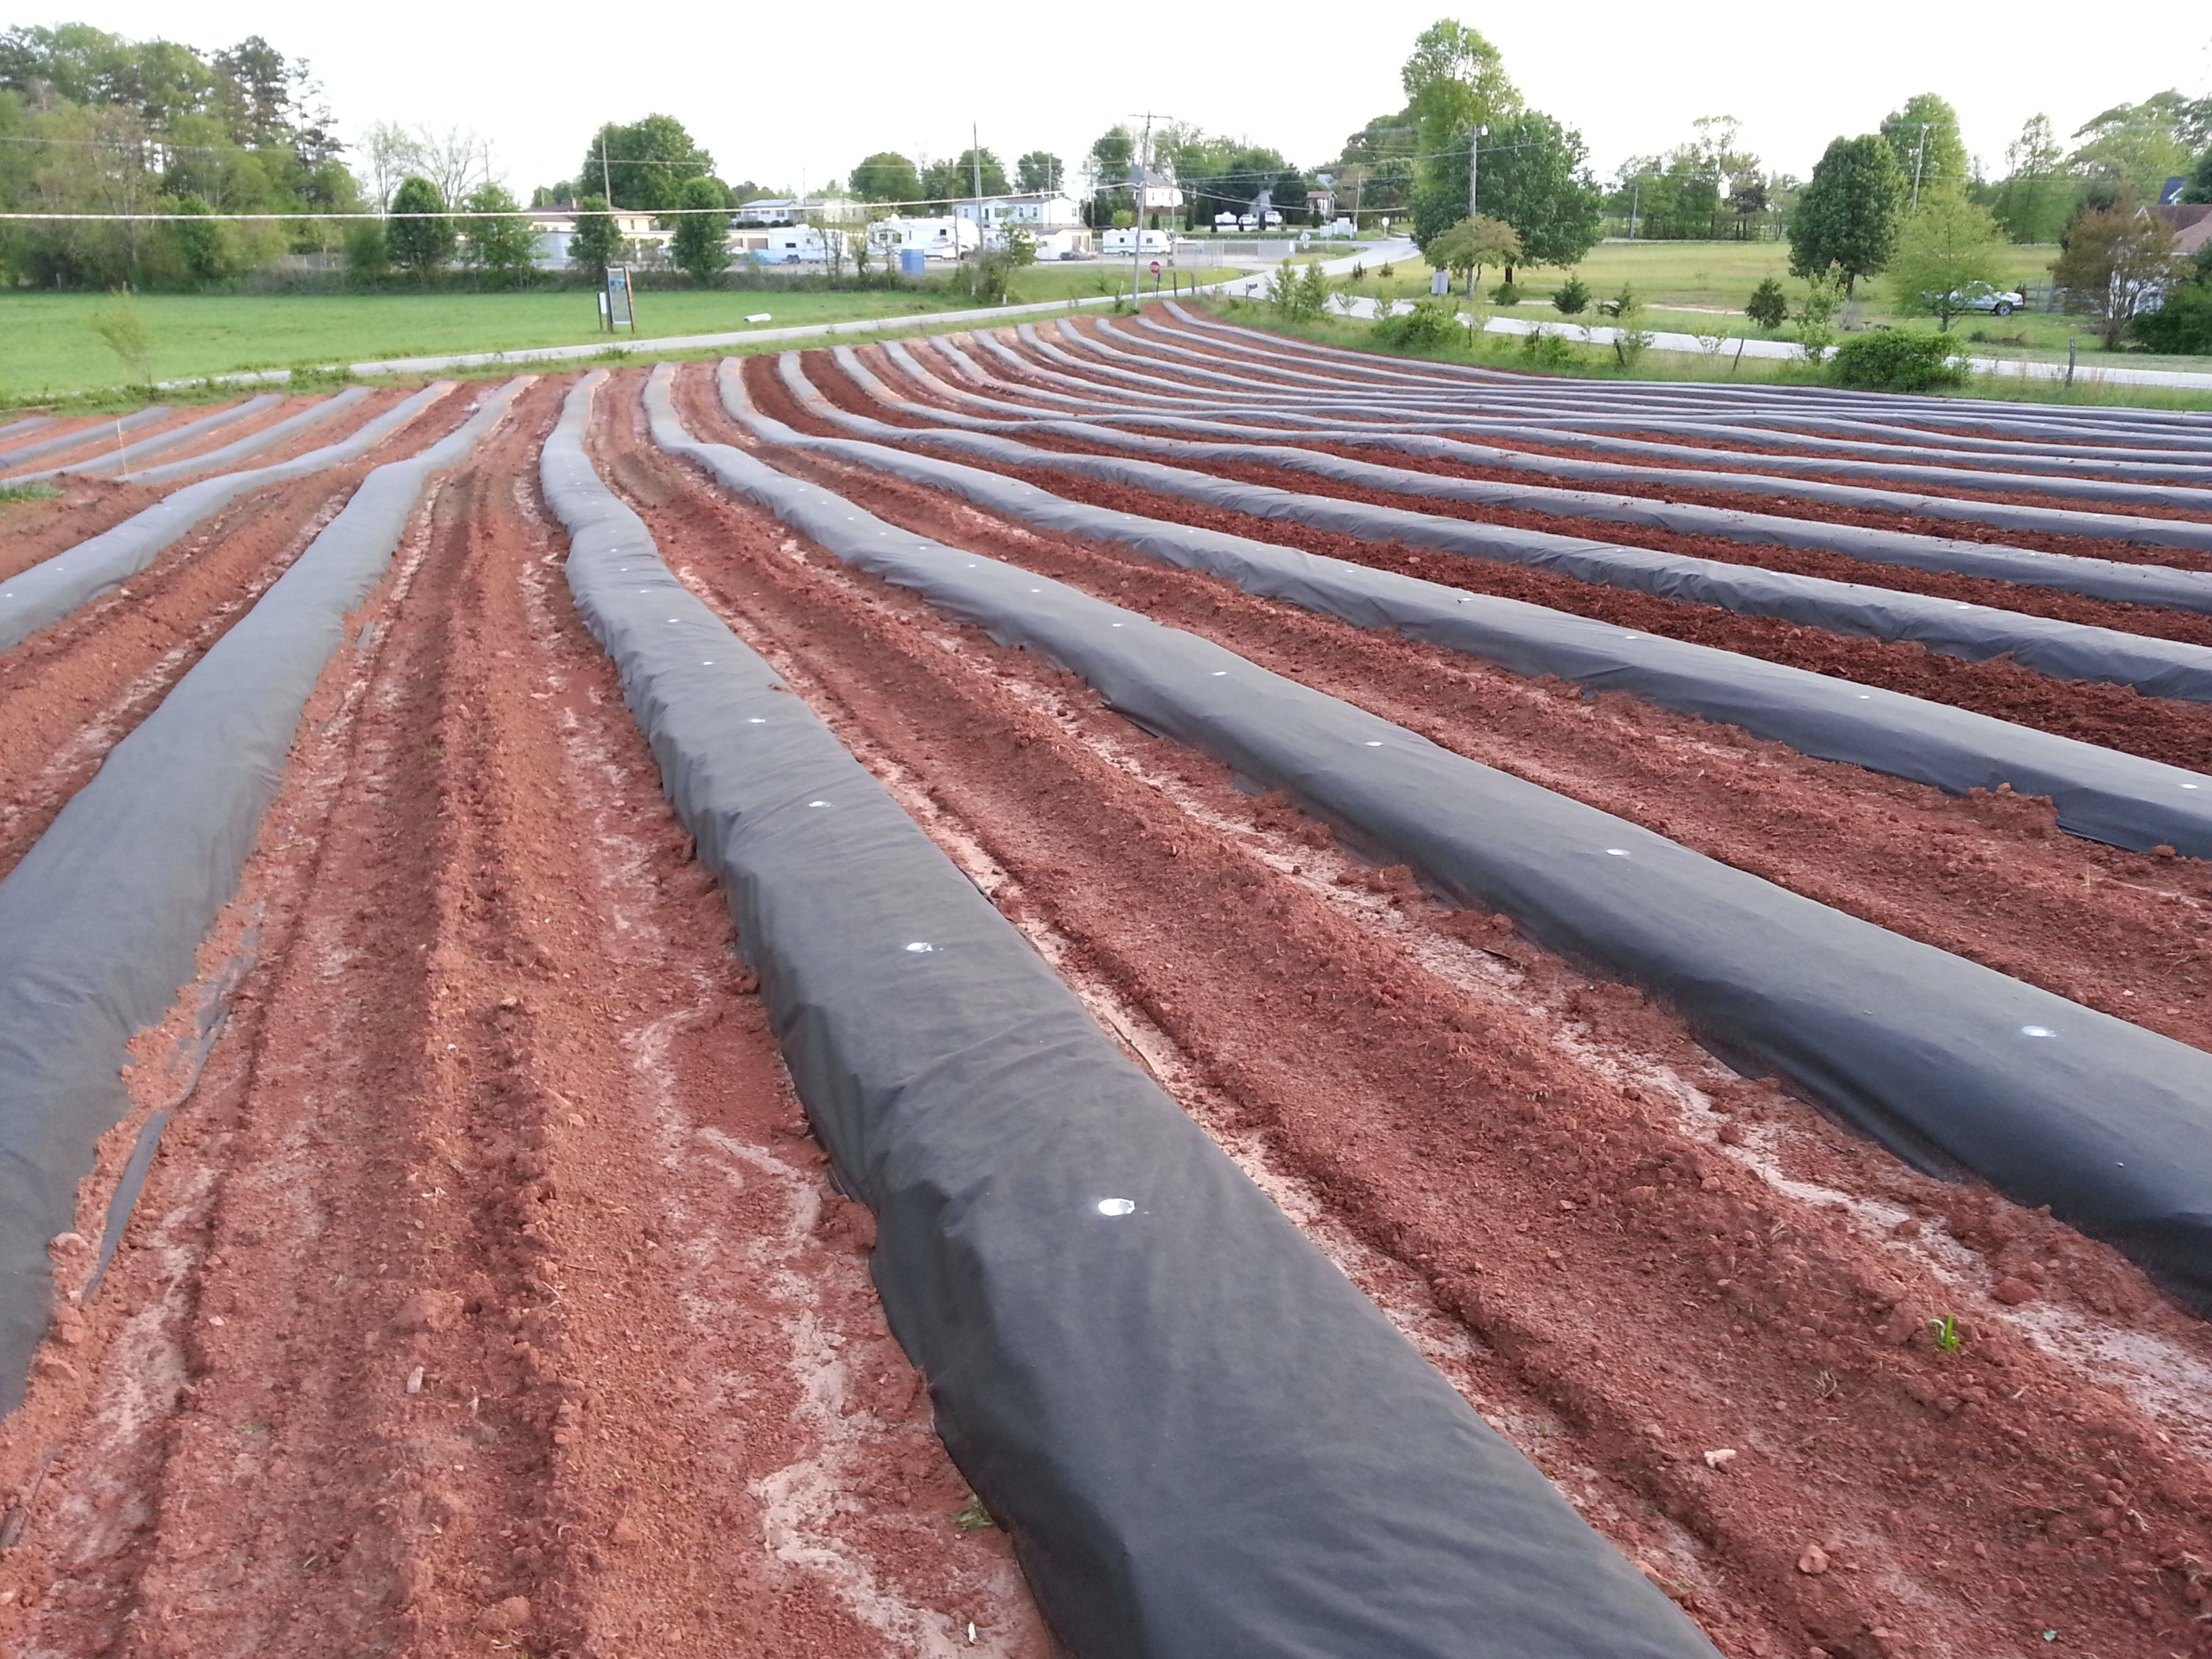
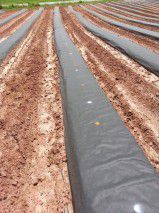
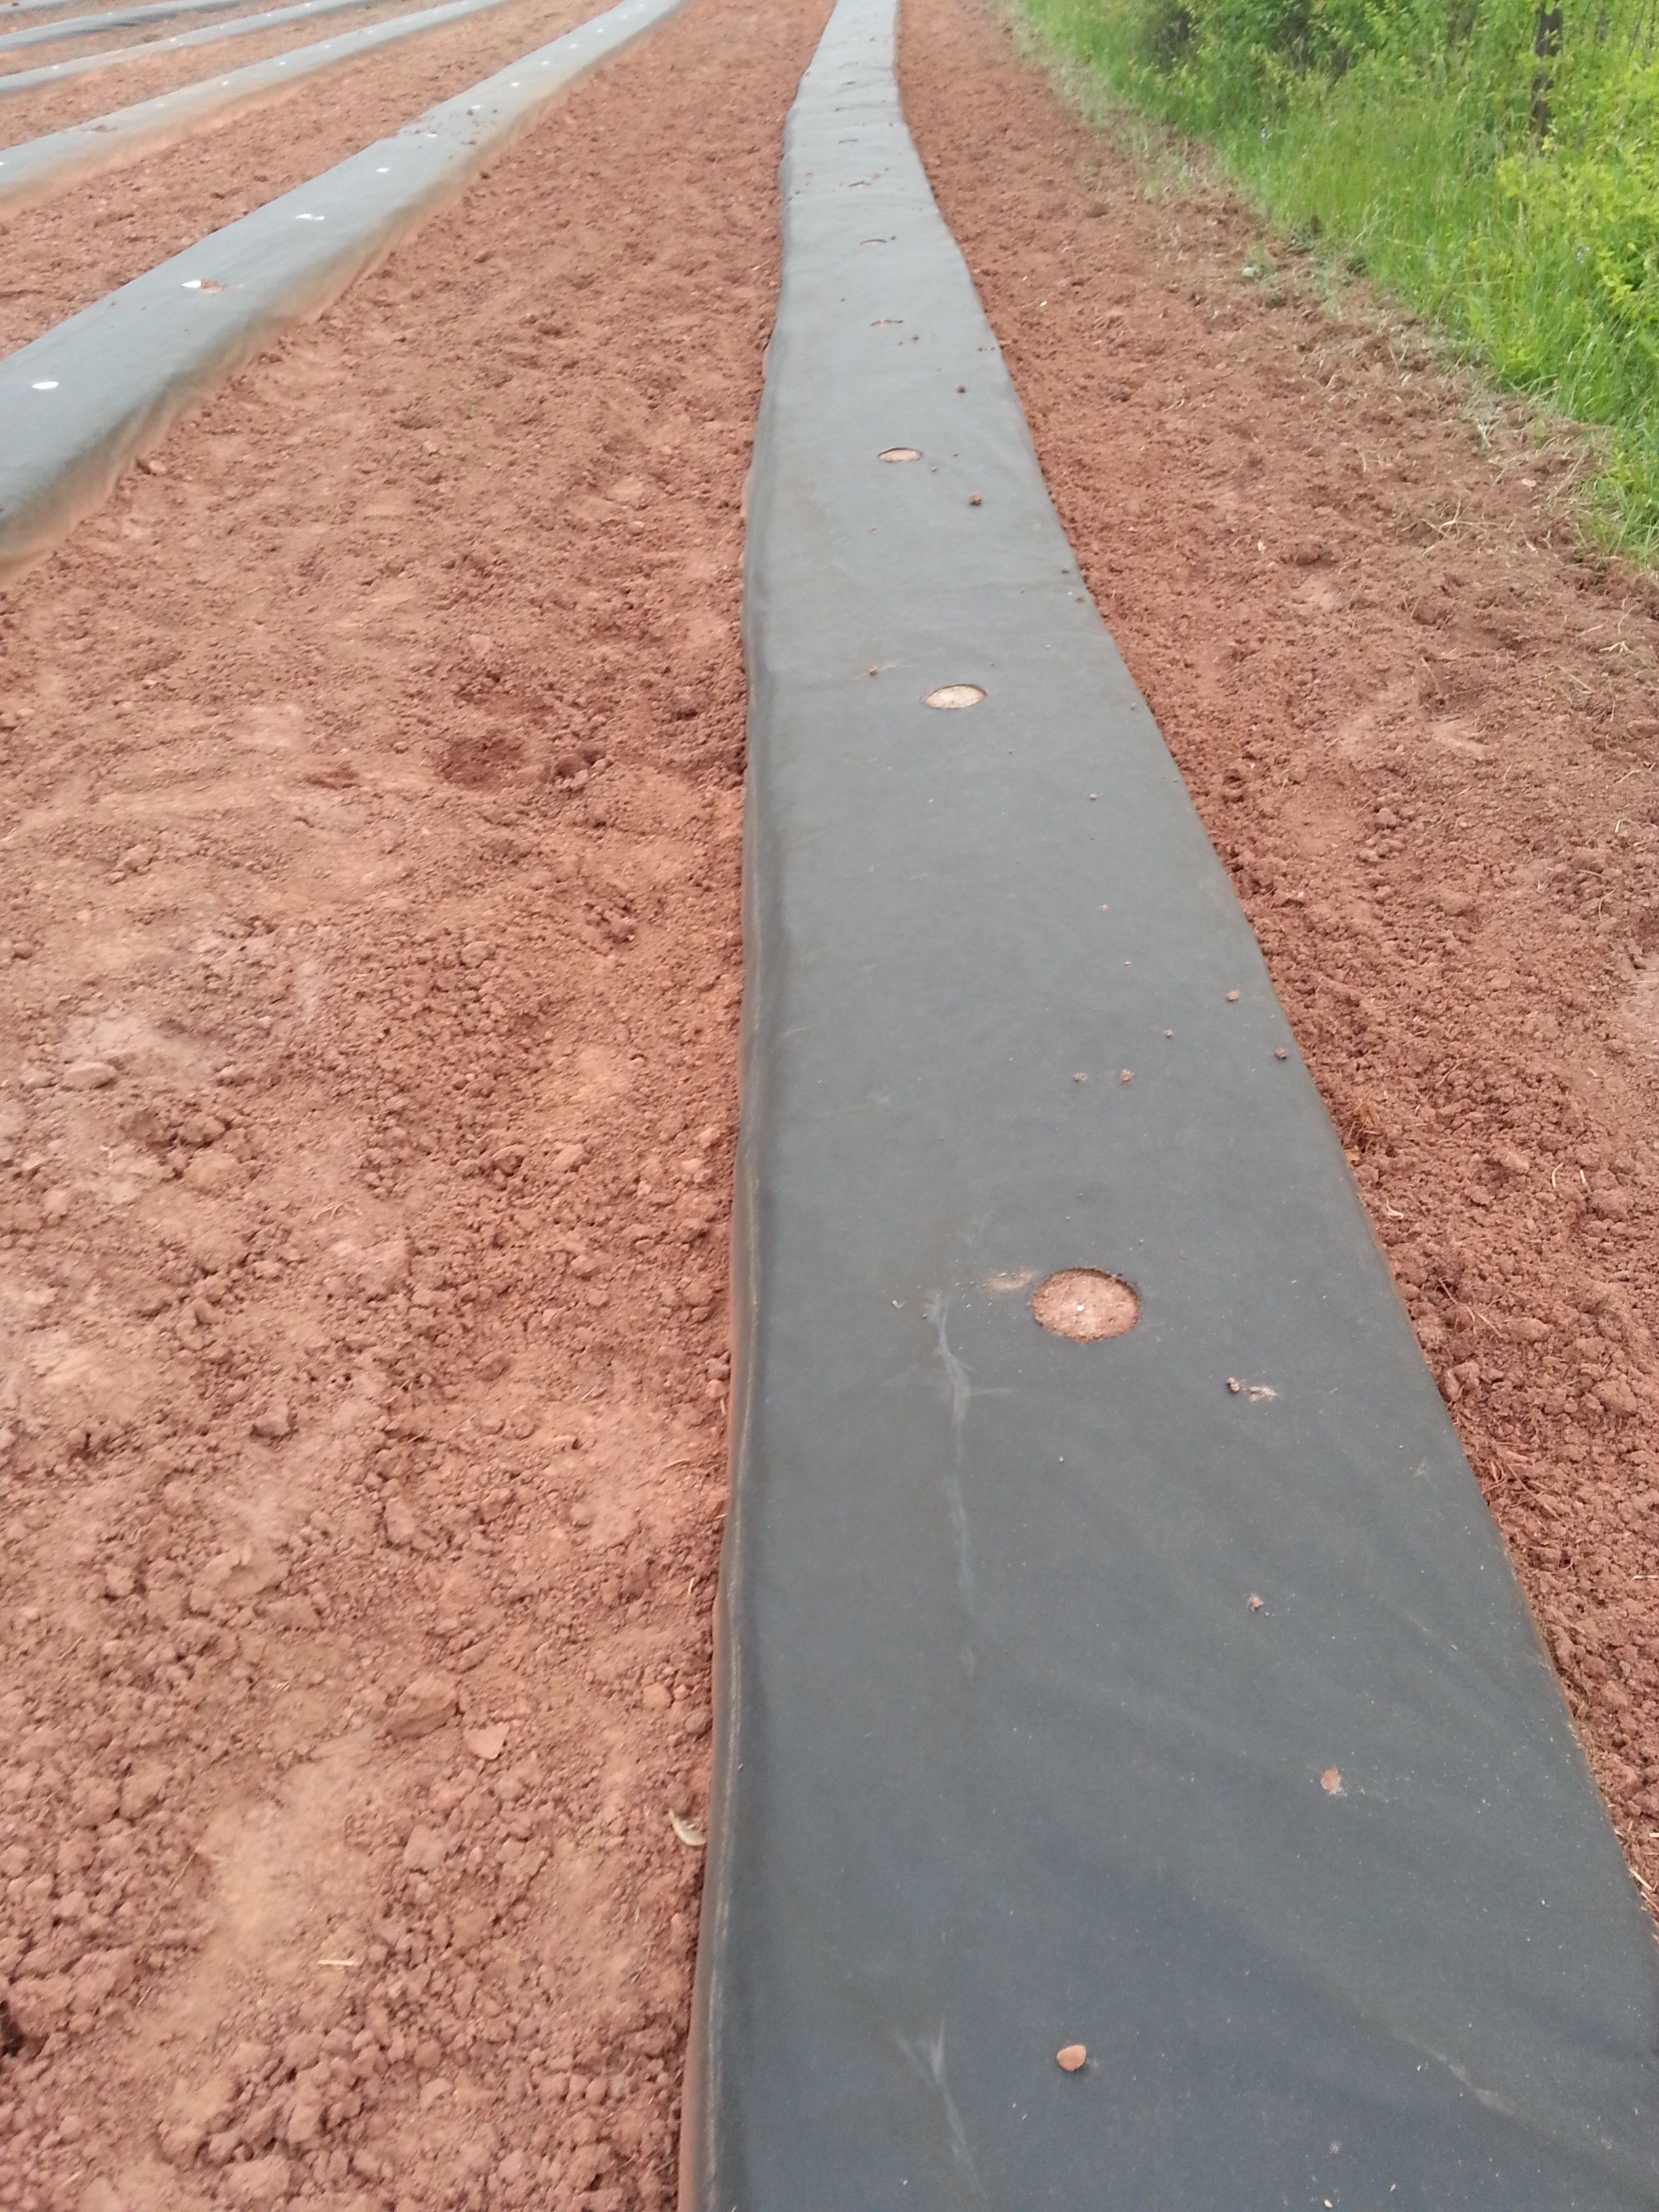
After the beds were made and covered, we had mountains in the middle of the walkways and valleys against the beds. The bedder/mulcher had left them (we weren’t expecting that). They were very hard to walk on, unsightly and not the way I wanted the walkways. So, break out “Big Red”! My Dad tilled every single one of the walkways to break up the mountain and level out the dirt. It was a ton of work, but the change was magical! You can really see the effect of the tilling on the two rows with yellow stars – they have been tilled and the rows closer to you in the picture have not. You can see another set of before and after under that.

-

- The two rows with stars show tilled dirt. The two rows closest haven’t been tilled and you can see the mountains and valleys of dirt.
-
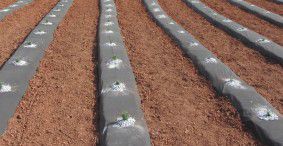
- Tilled walkways.

-

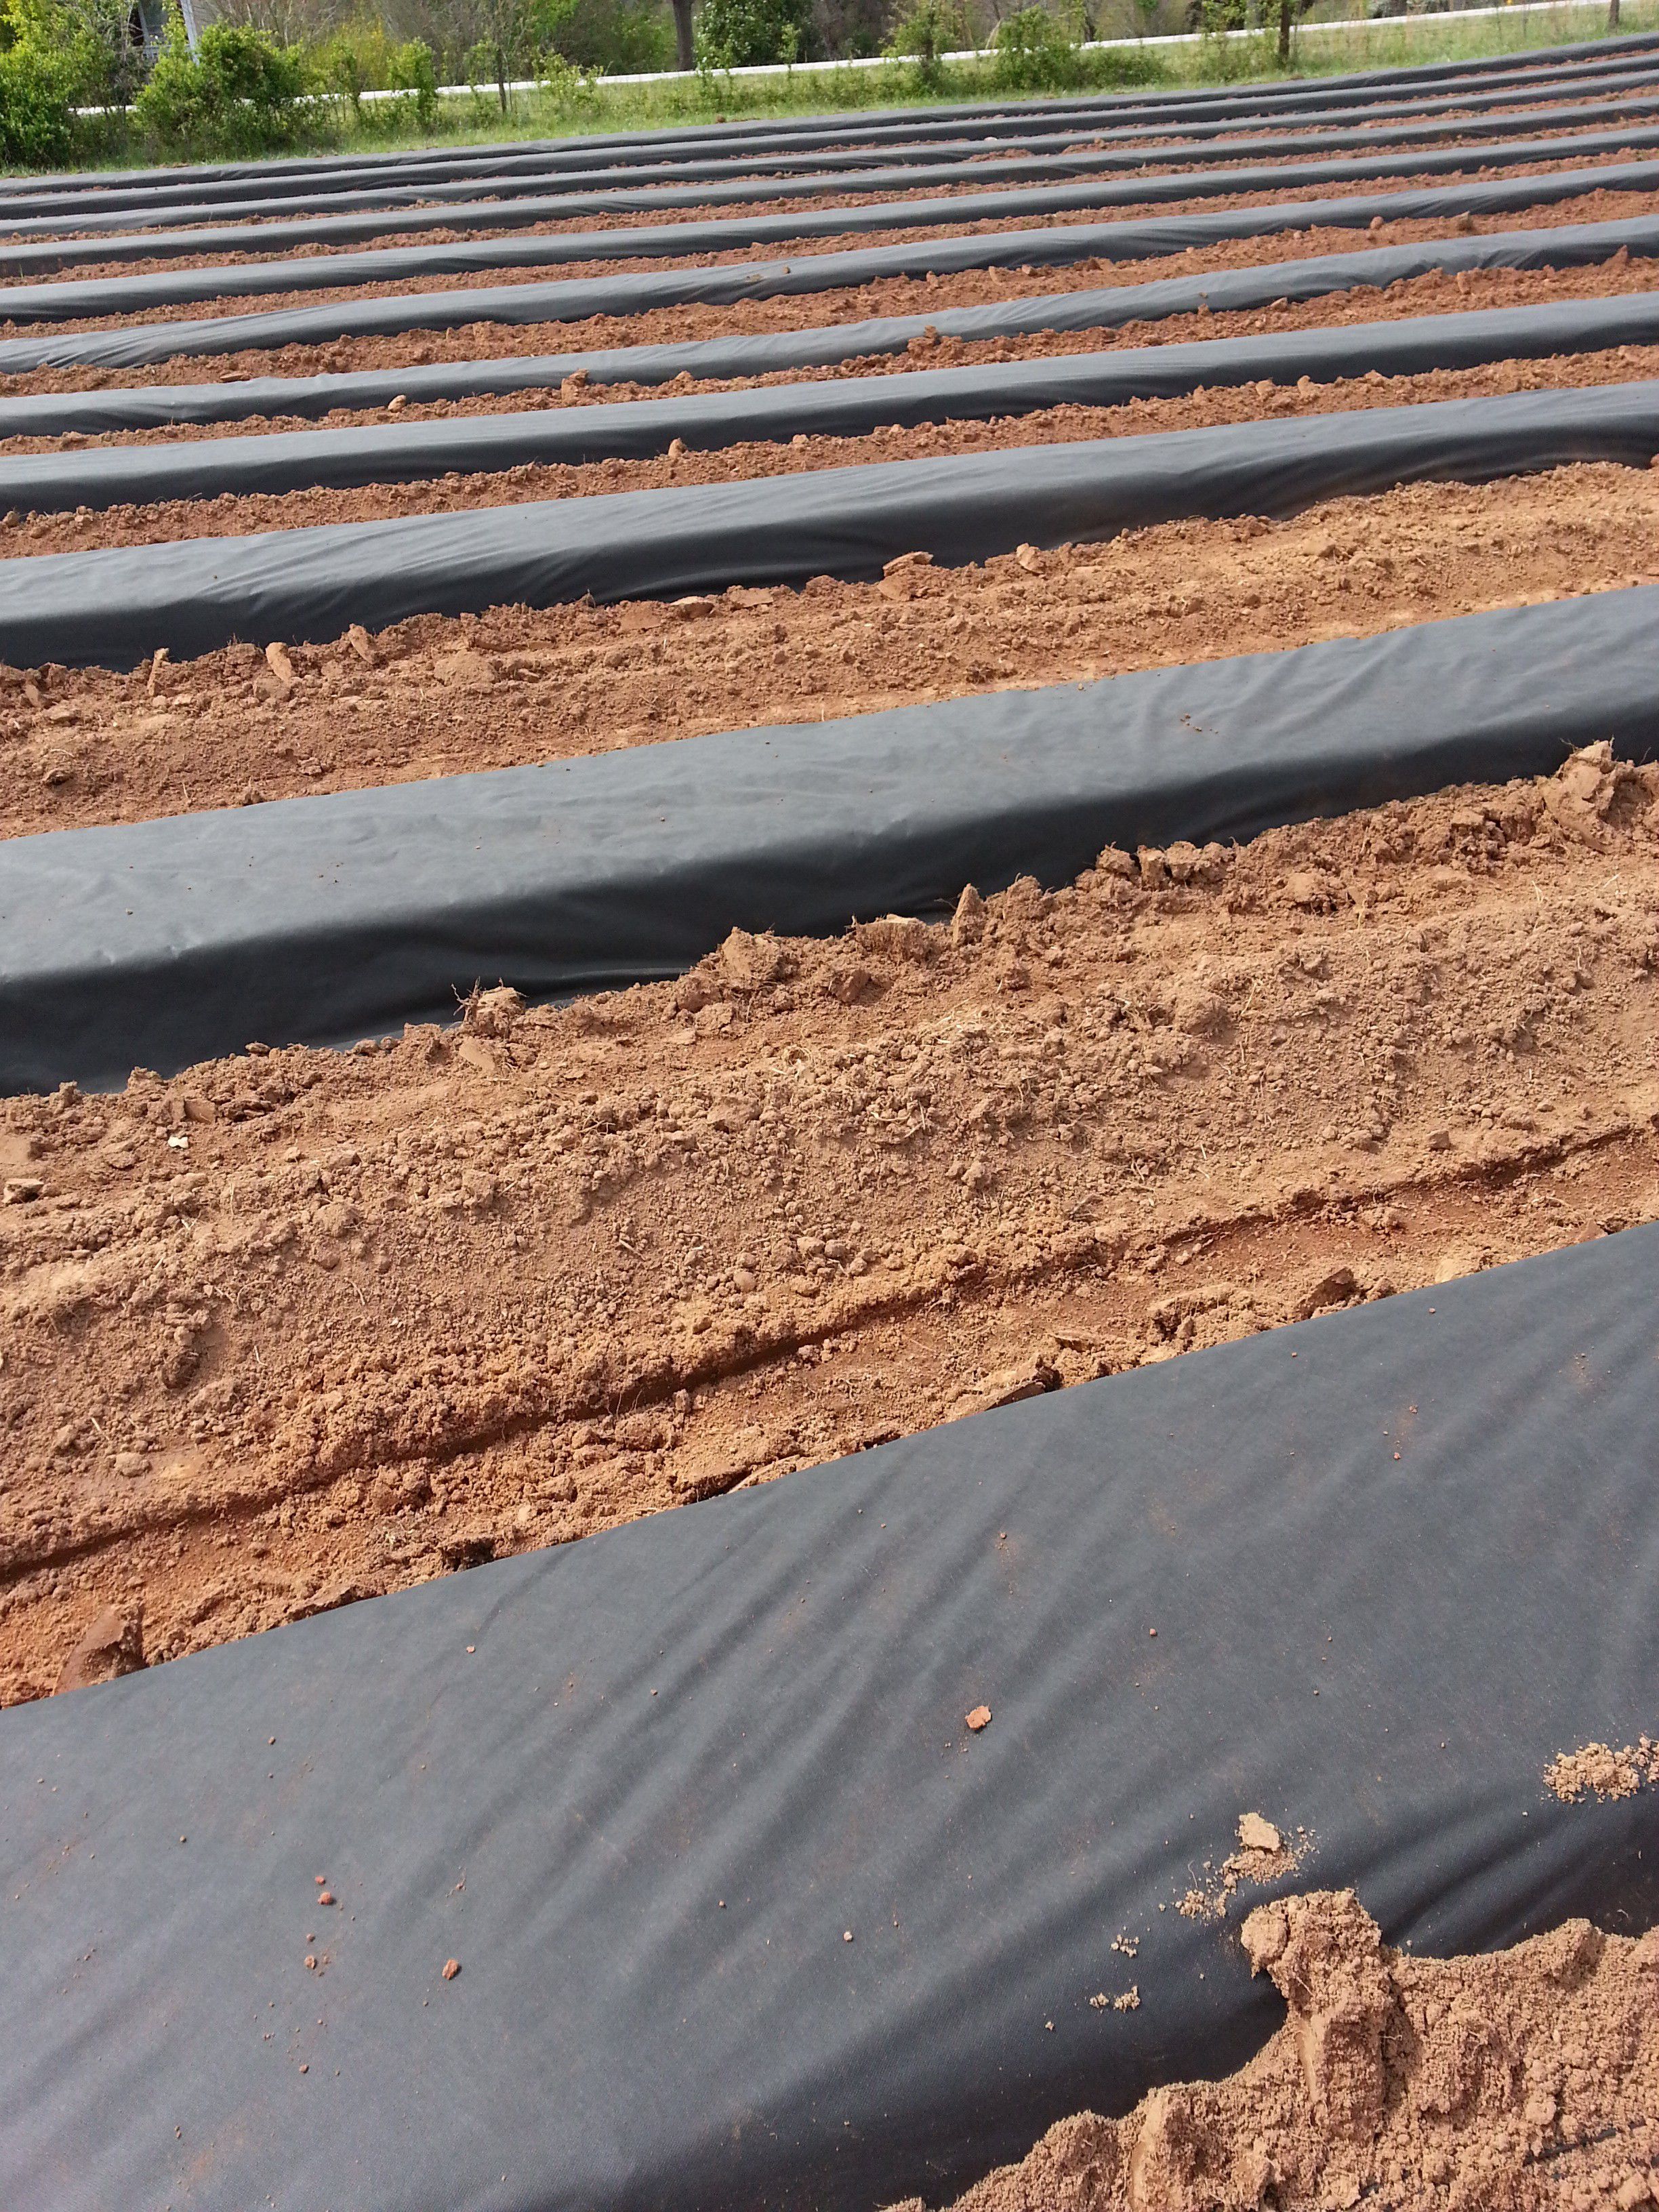
- Untilled.
-
- Tilled.
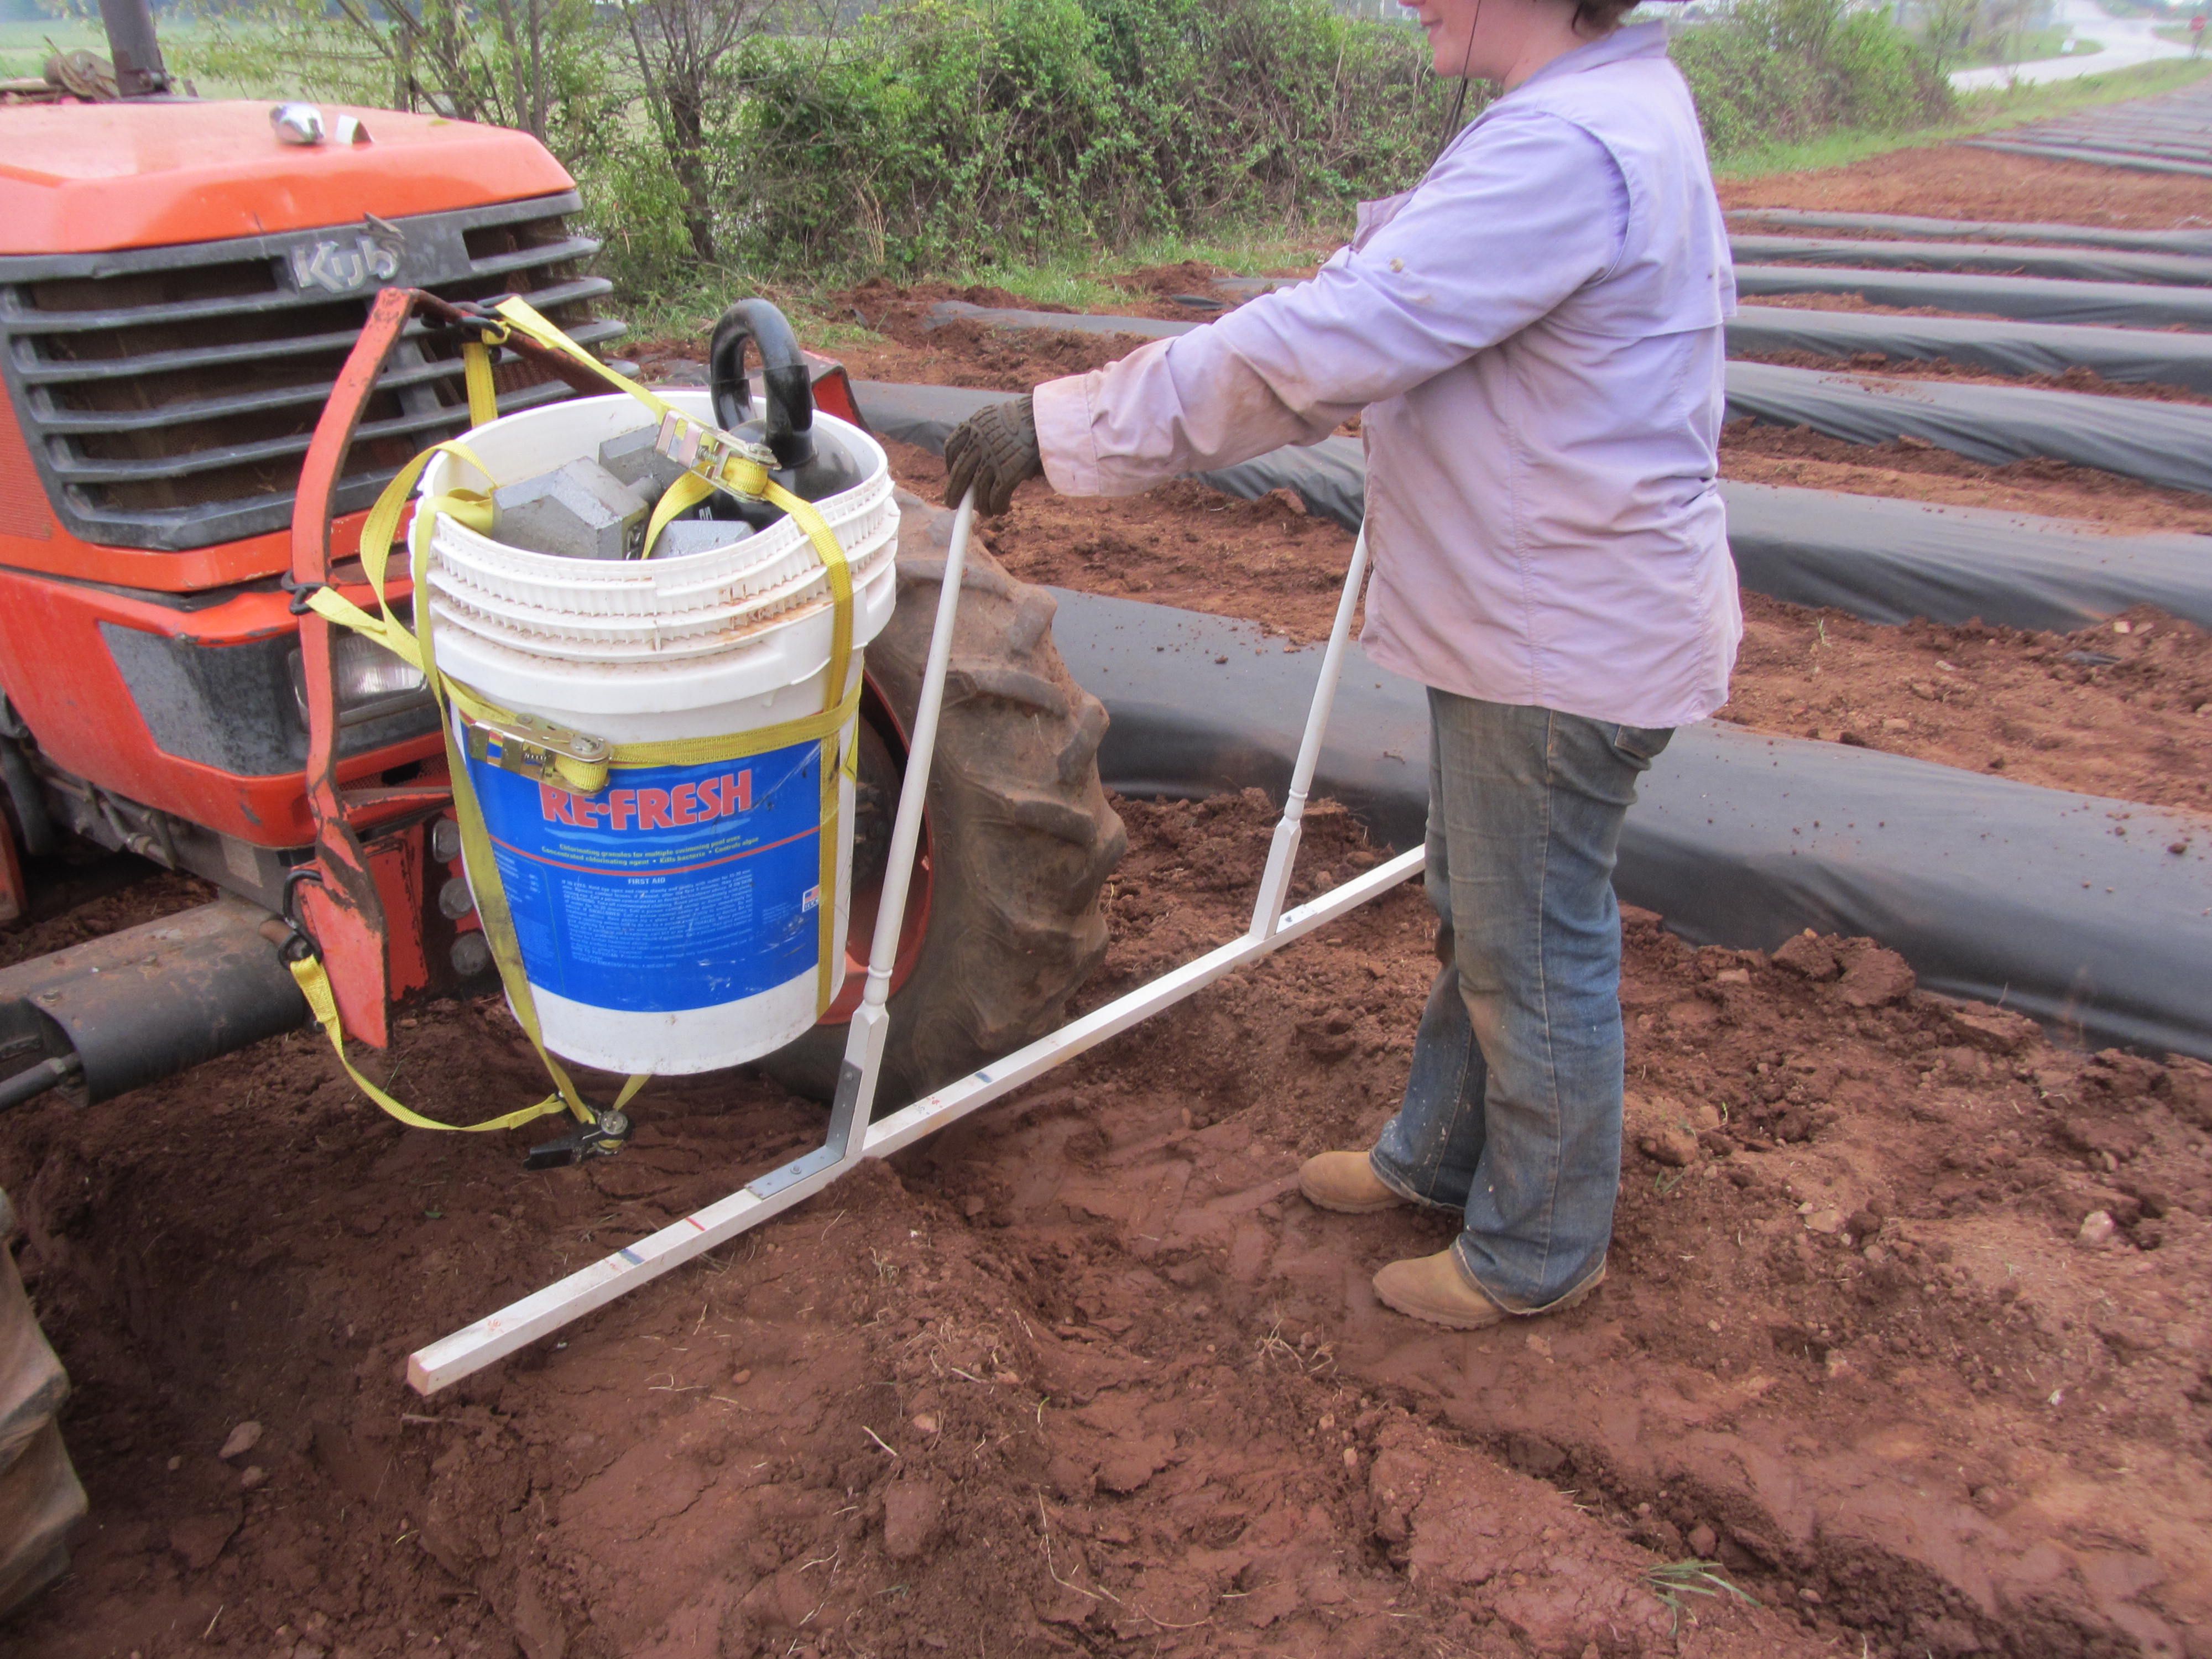
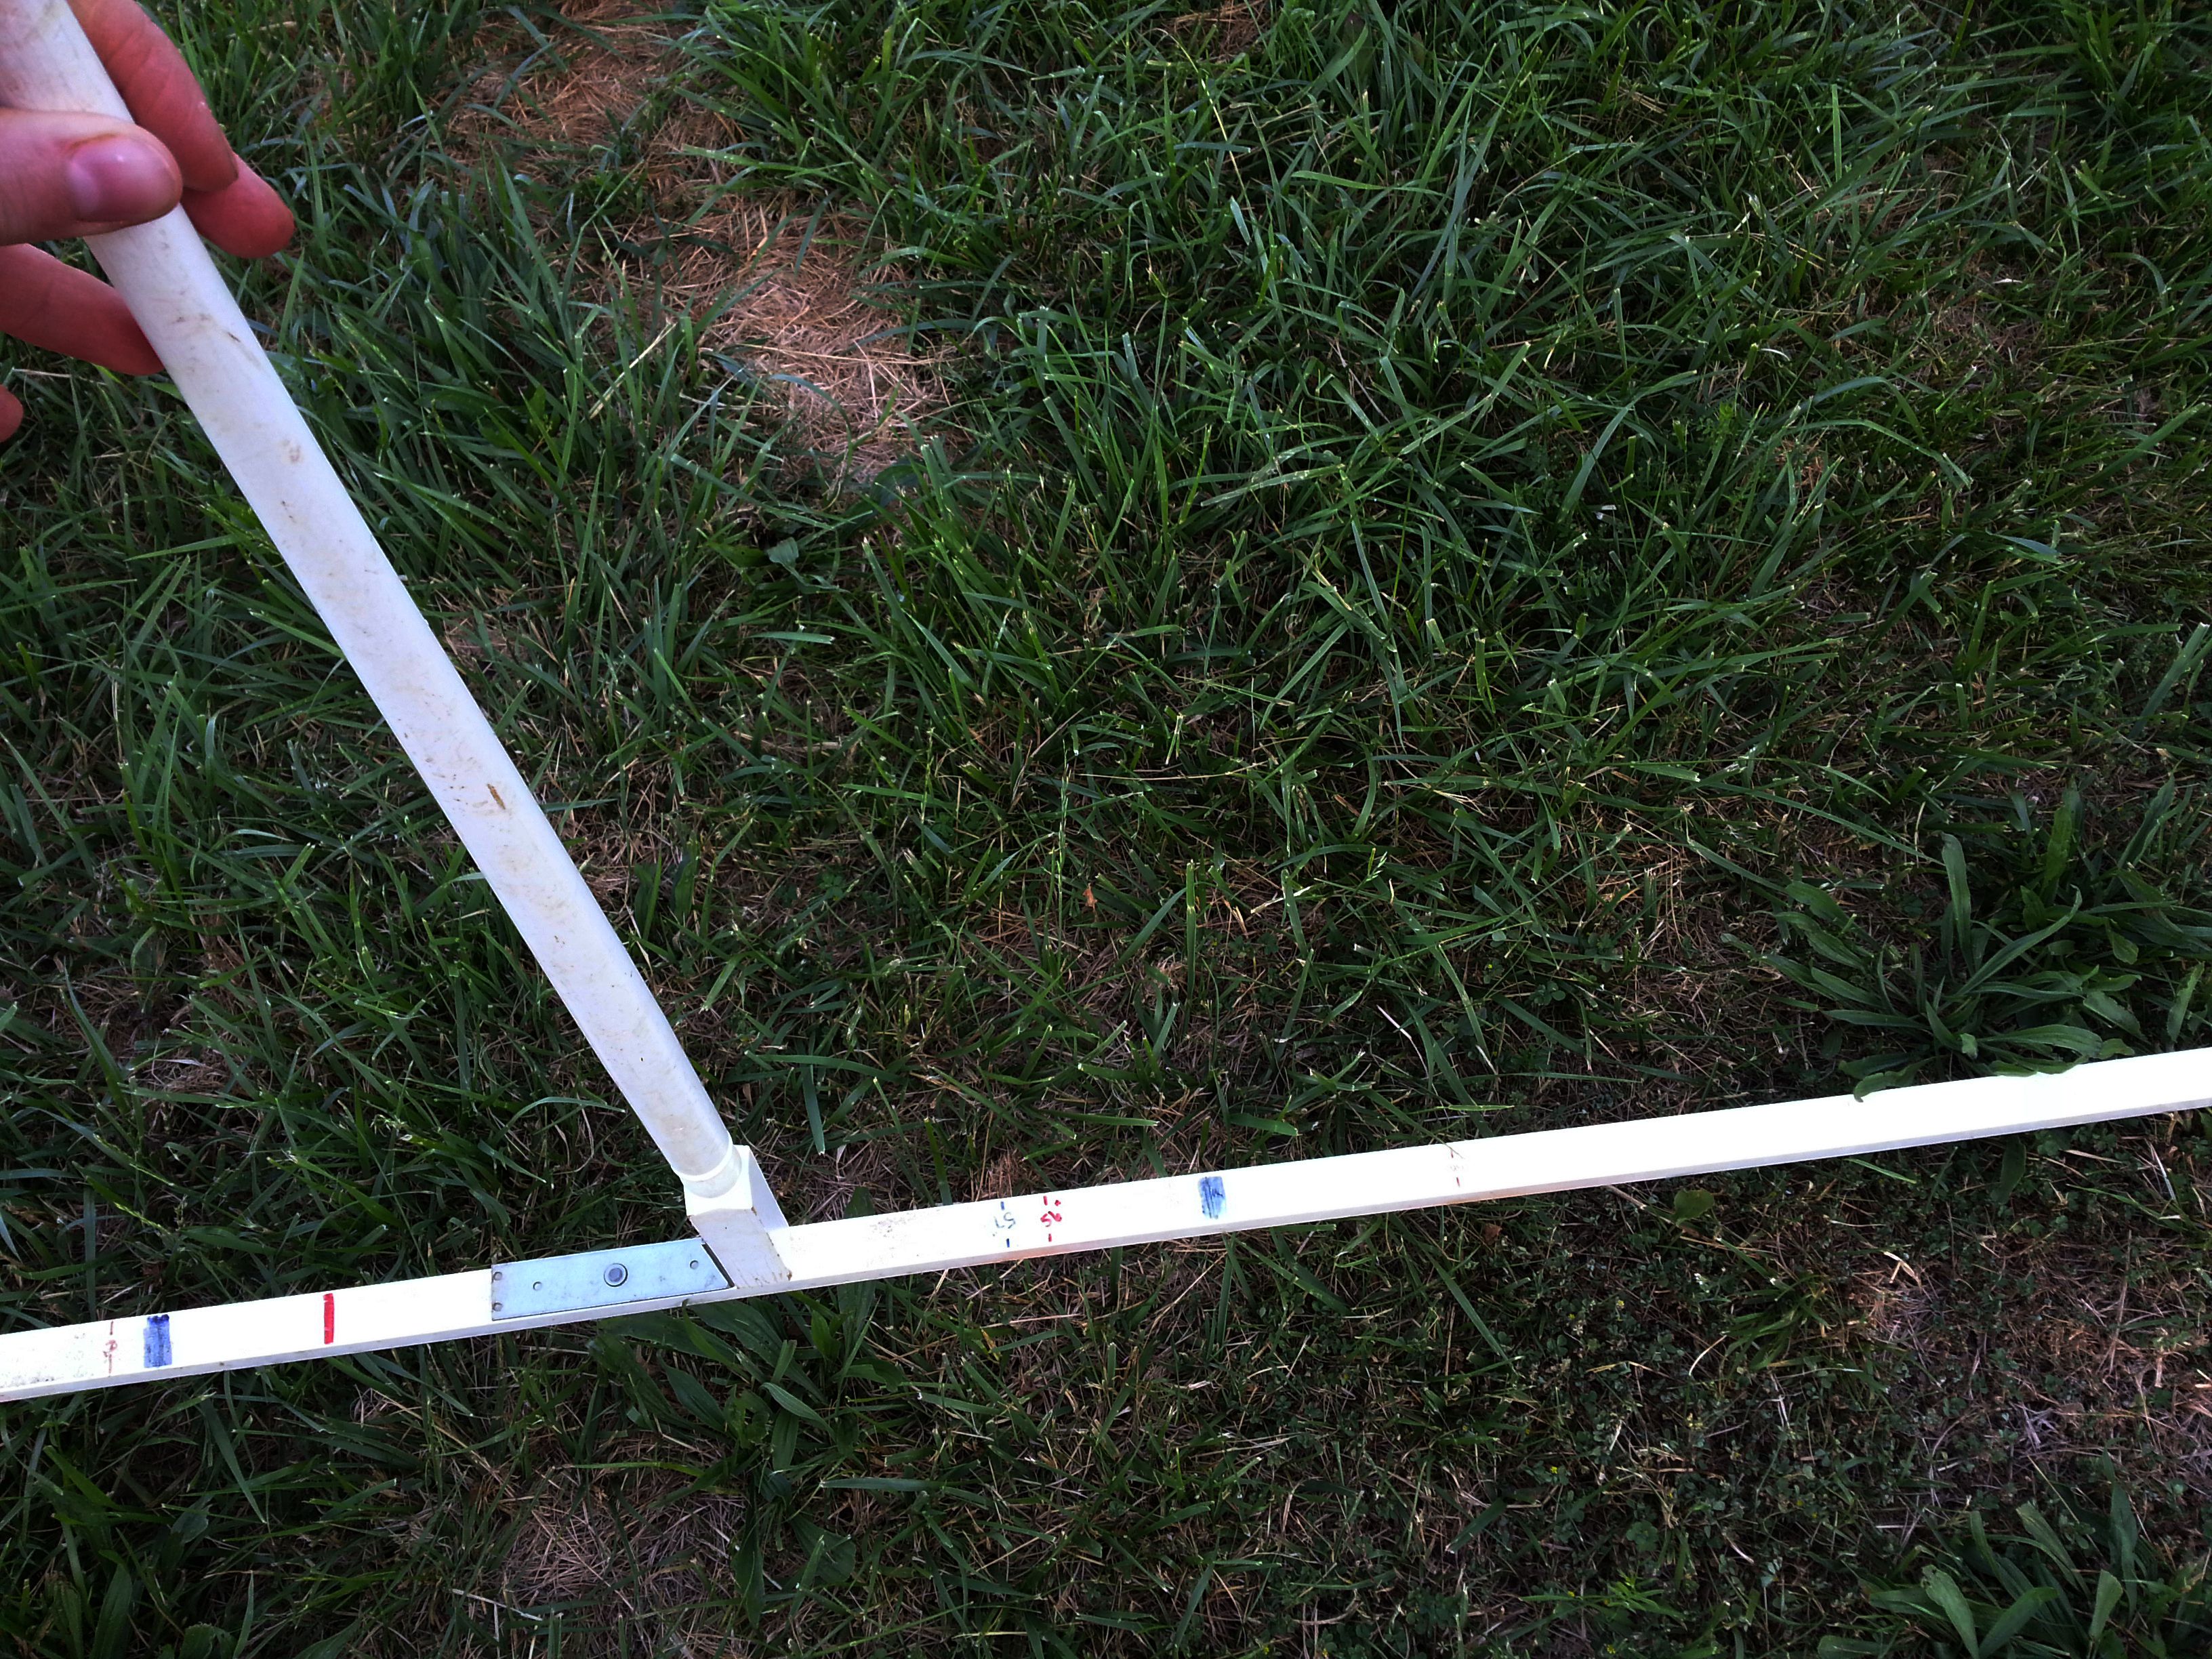
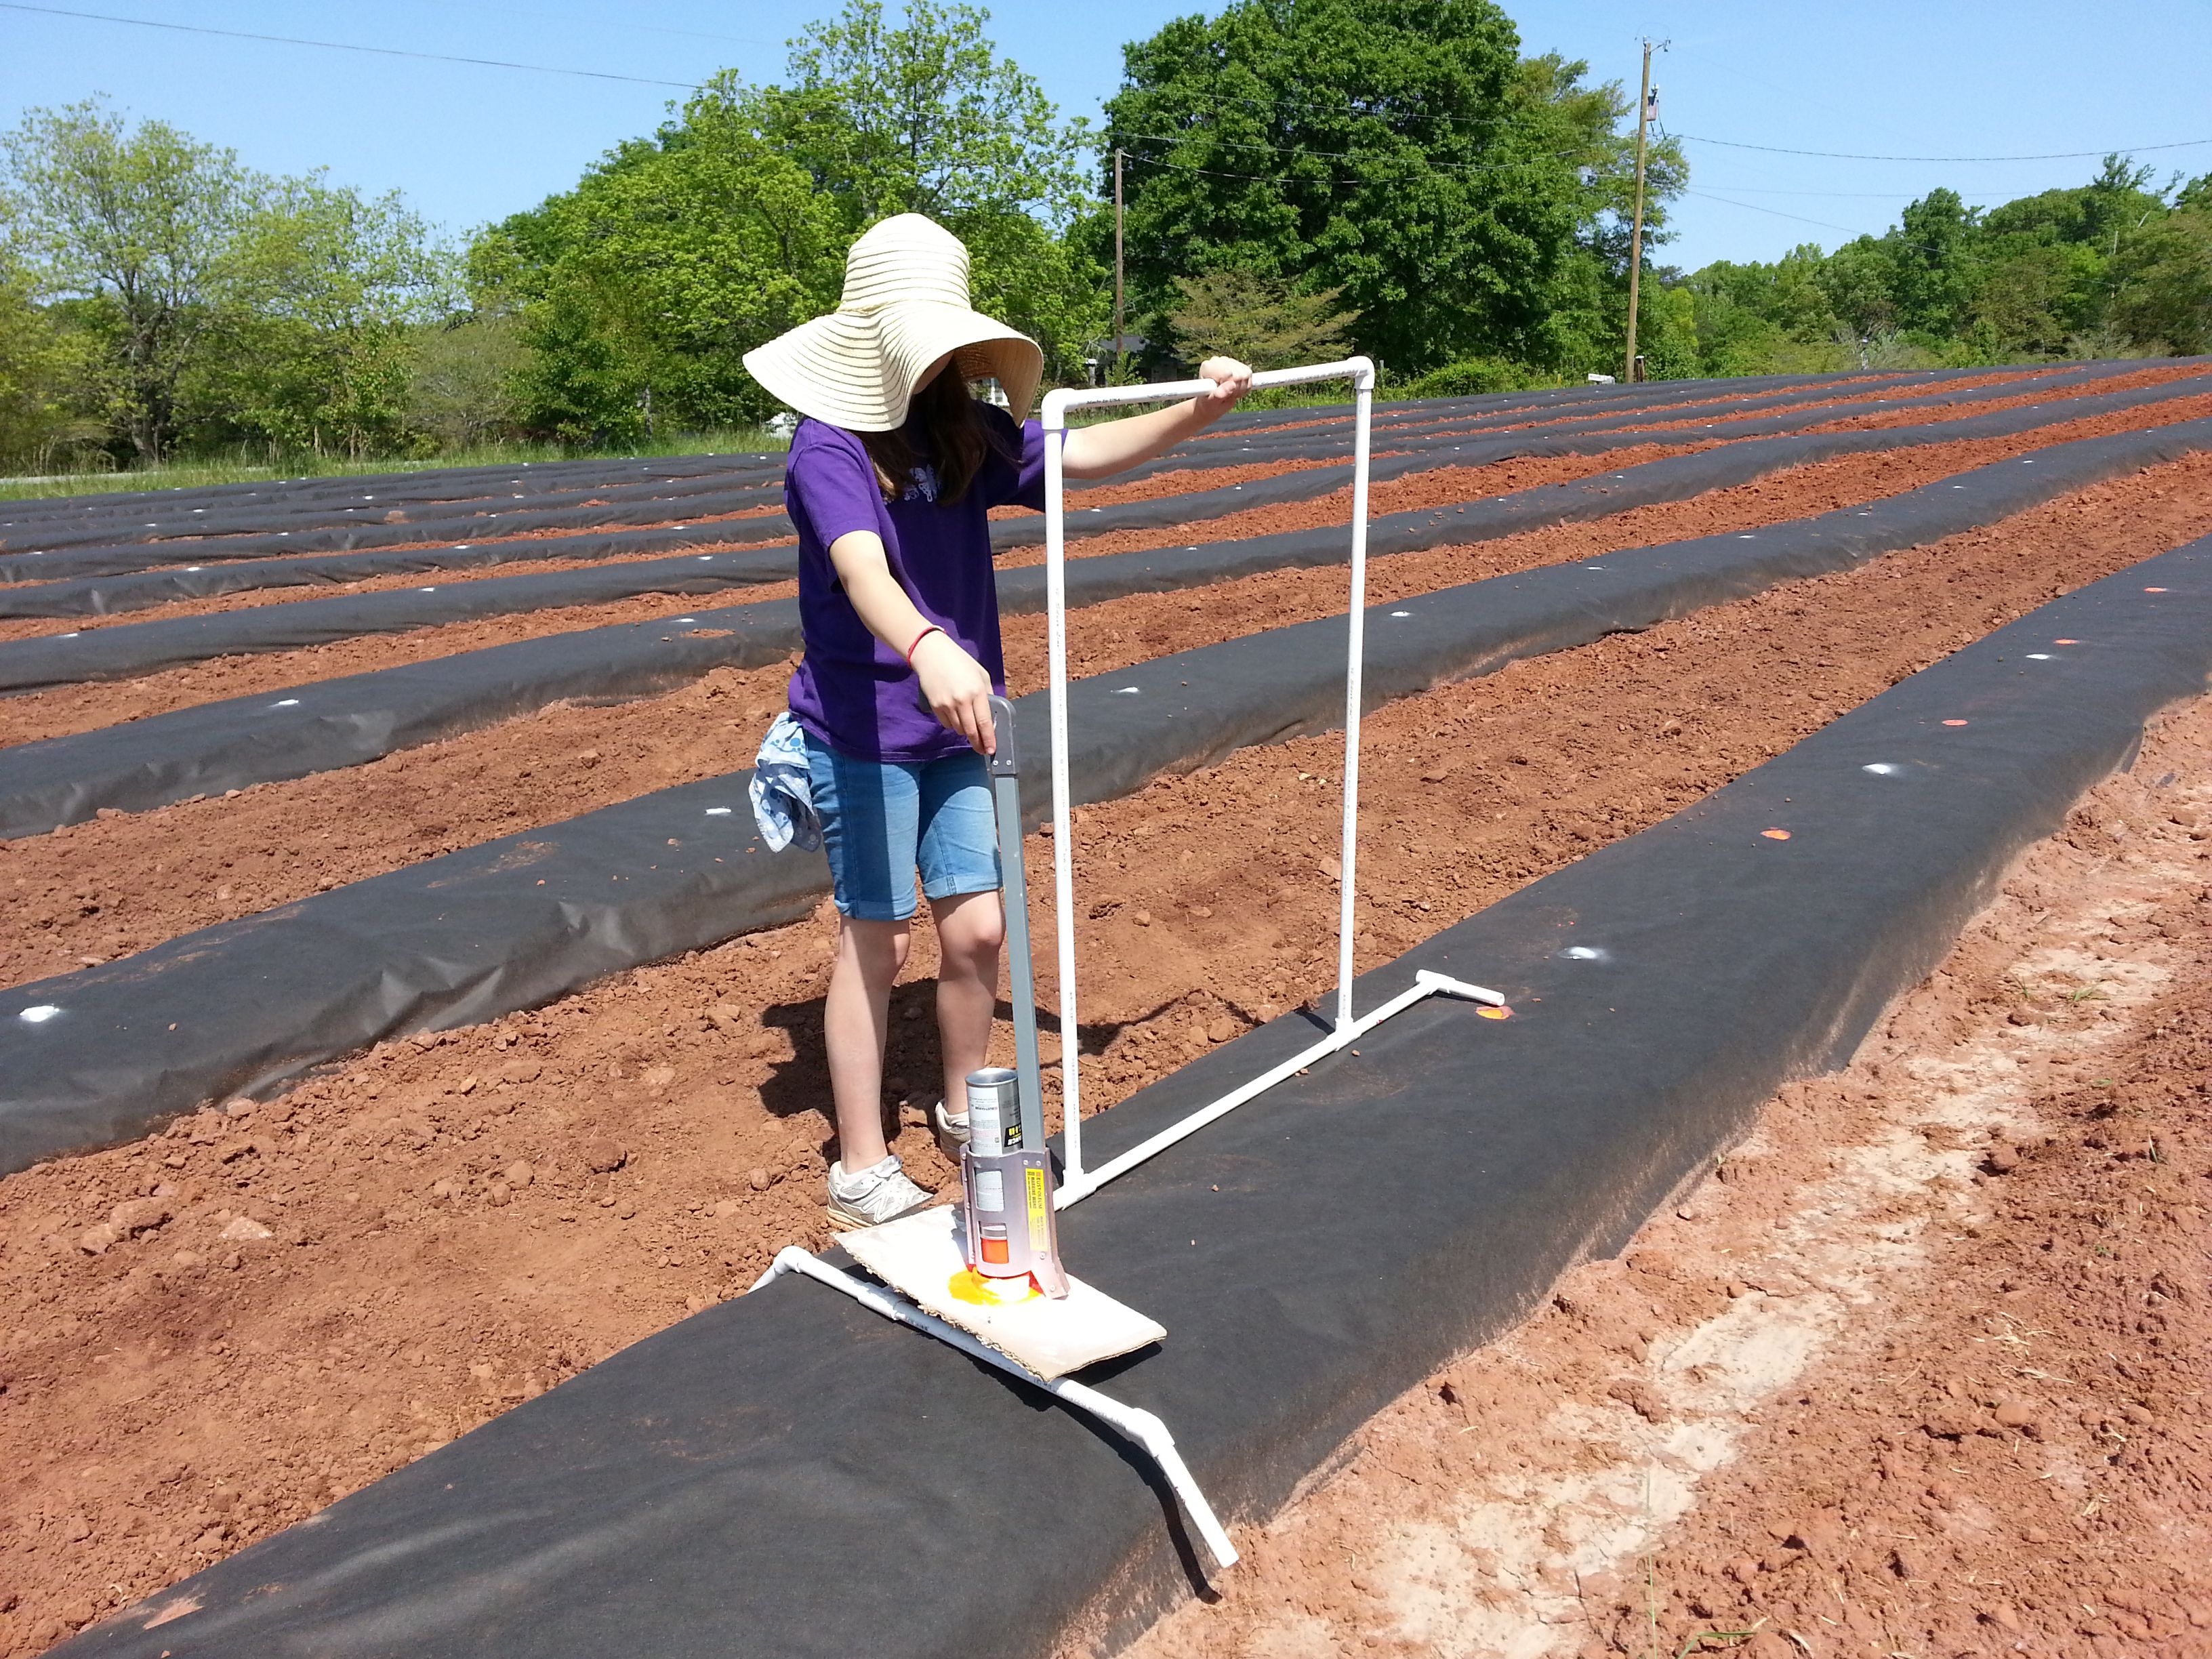
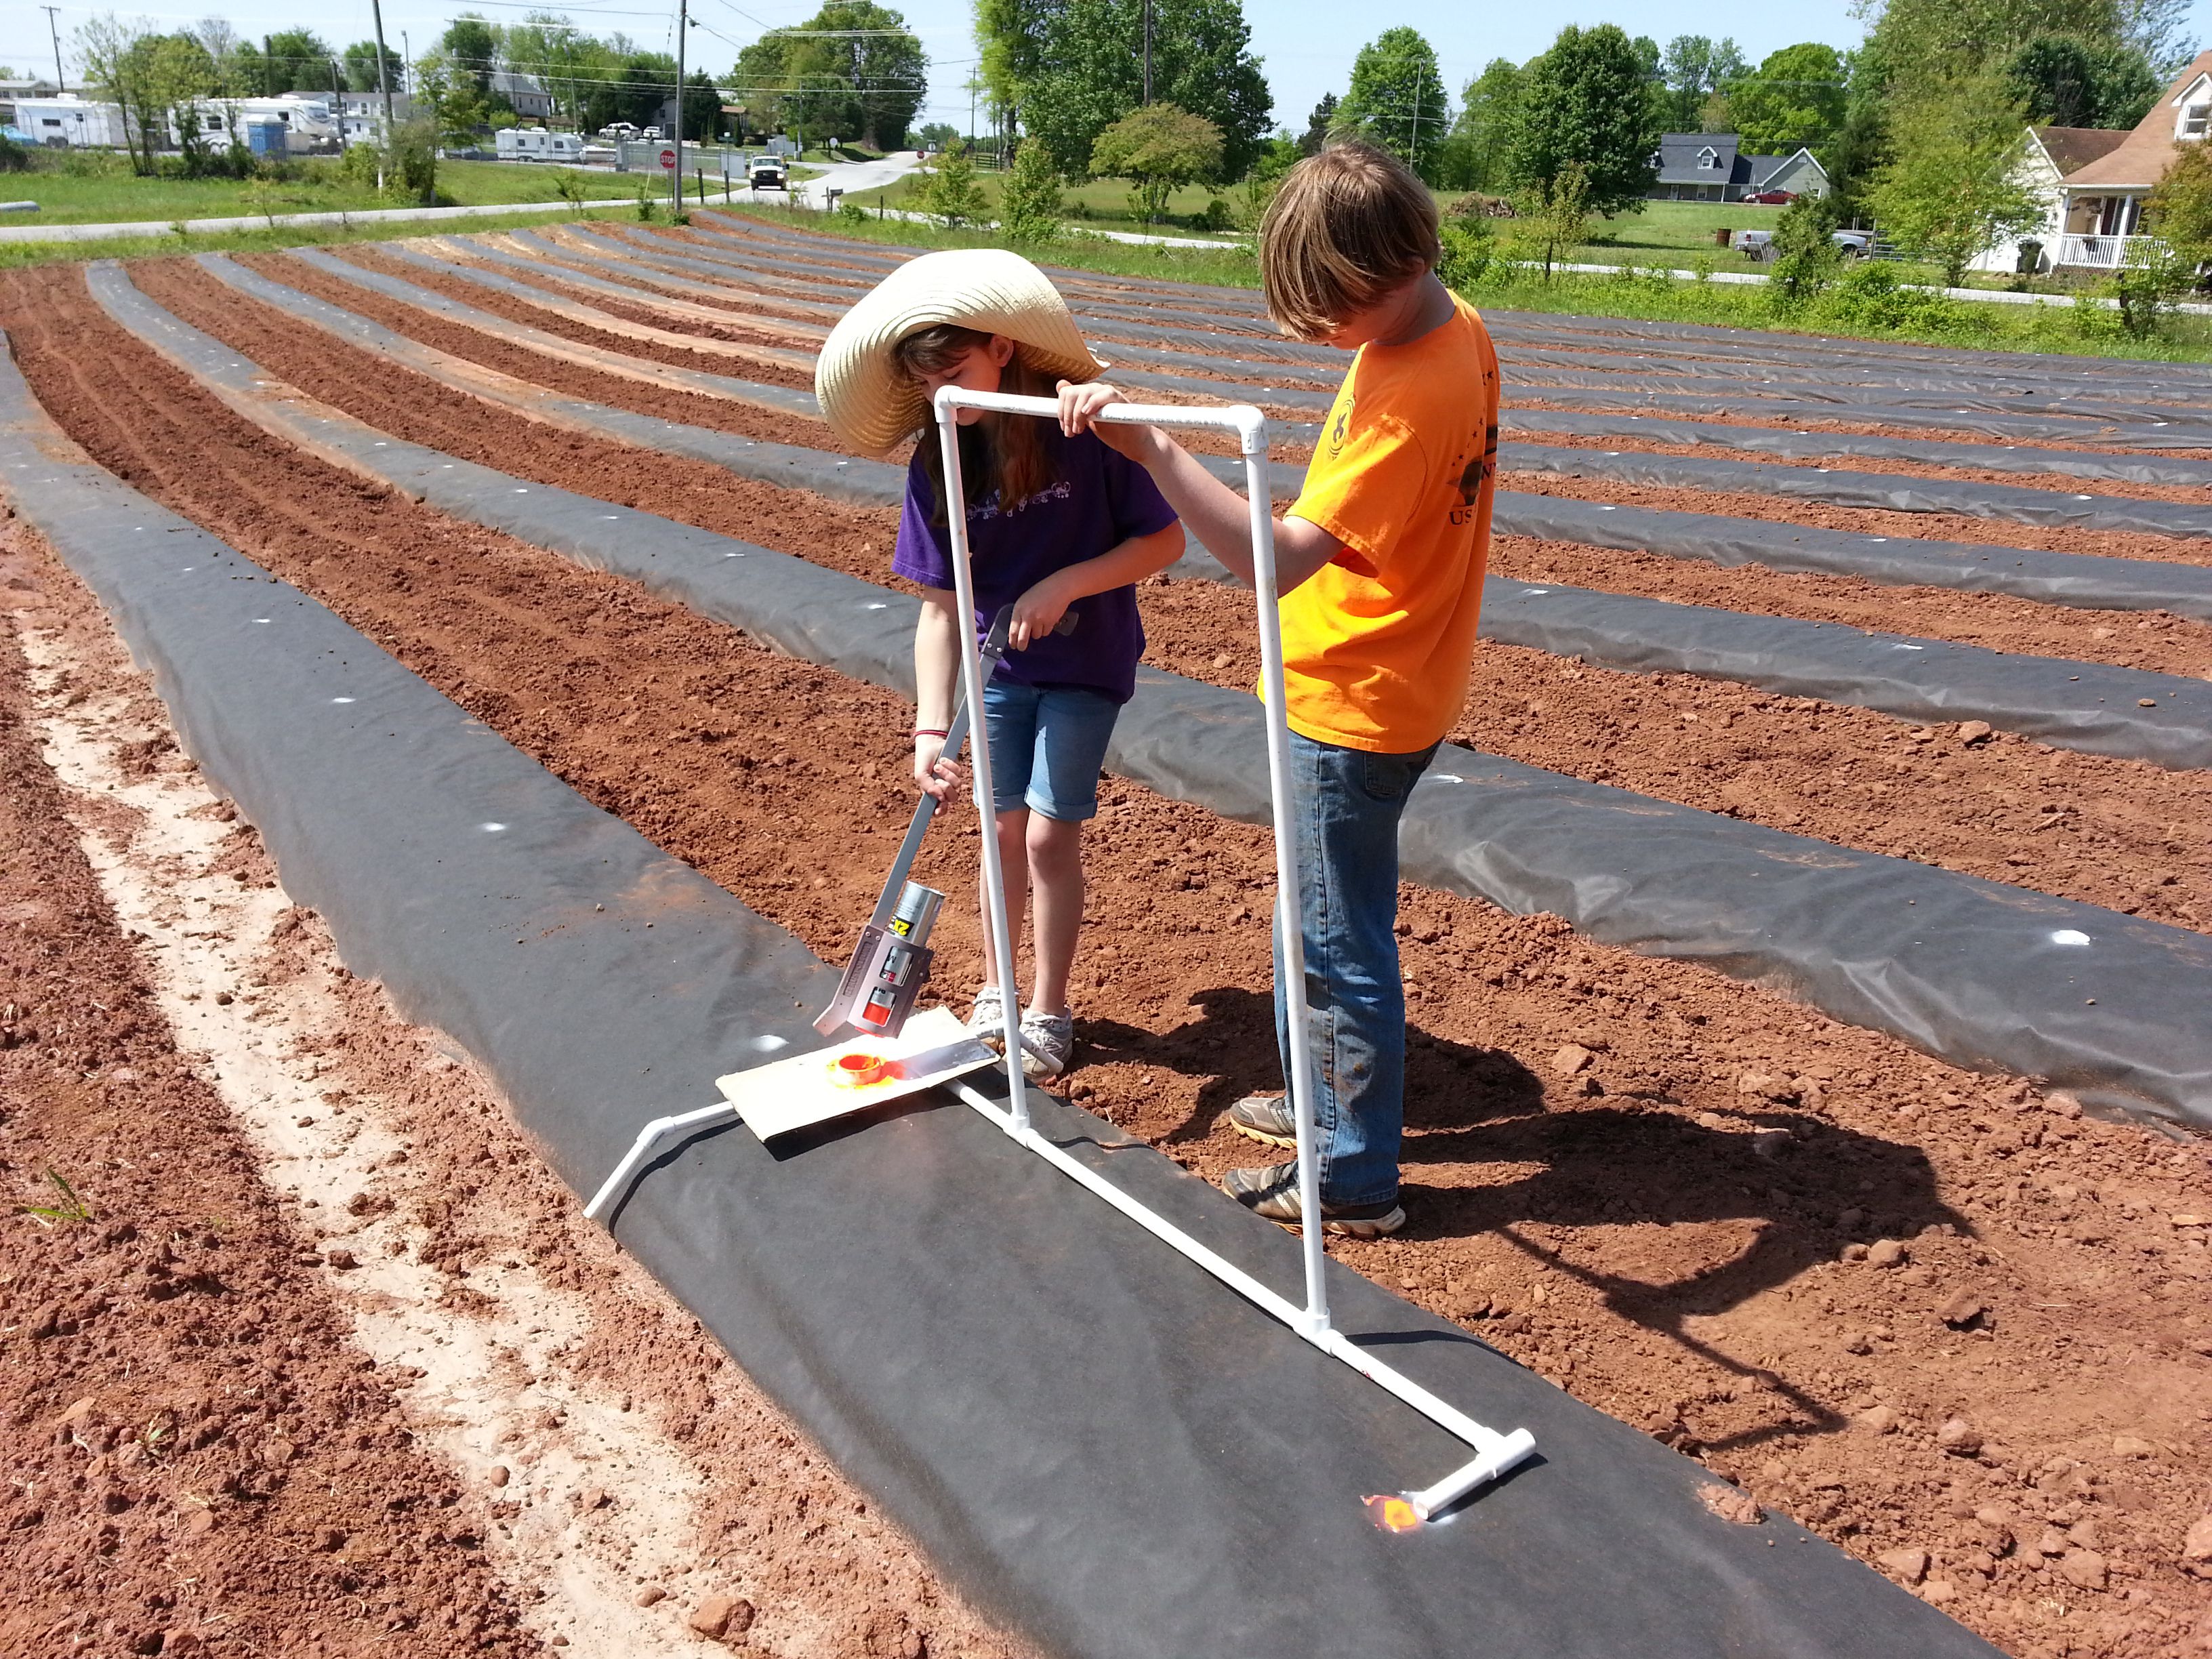
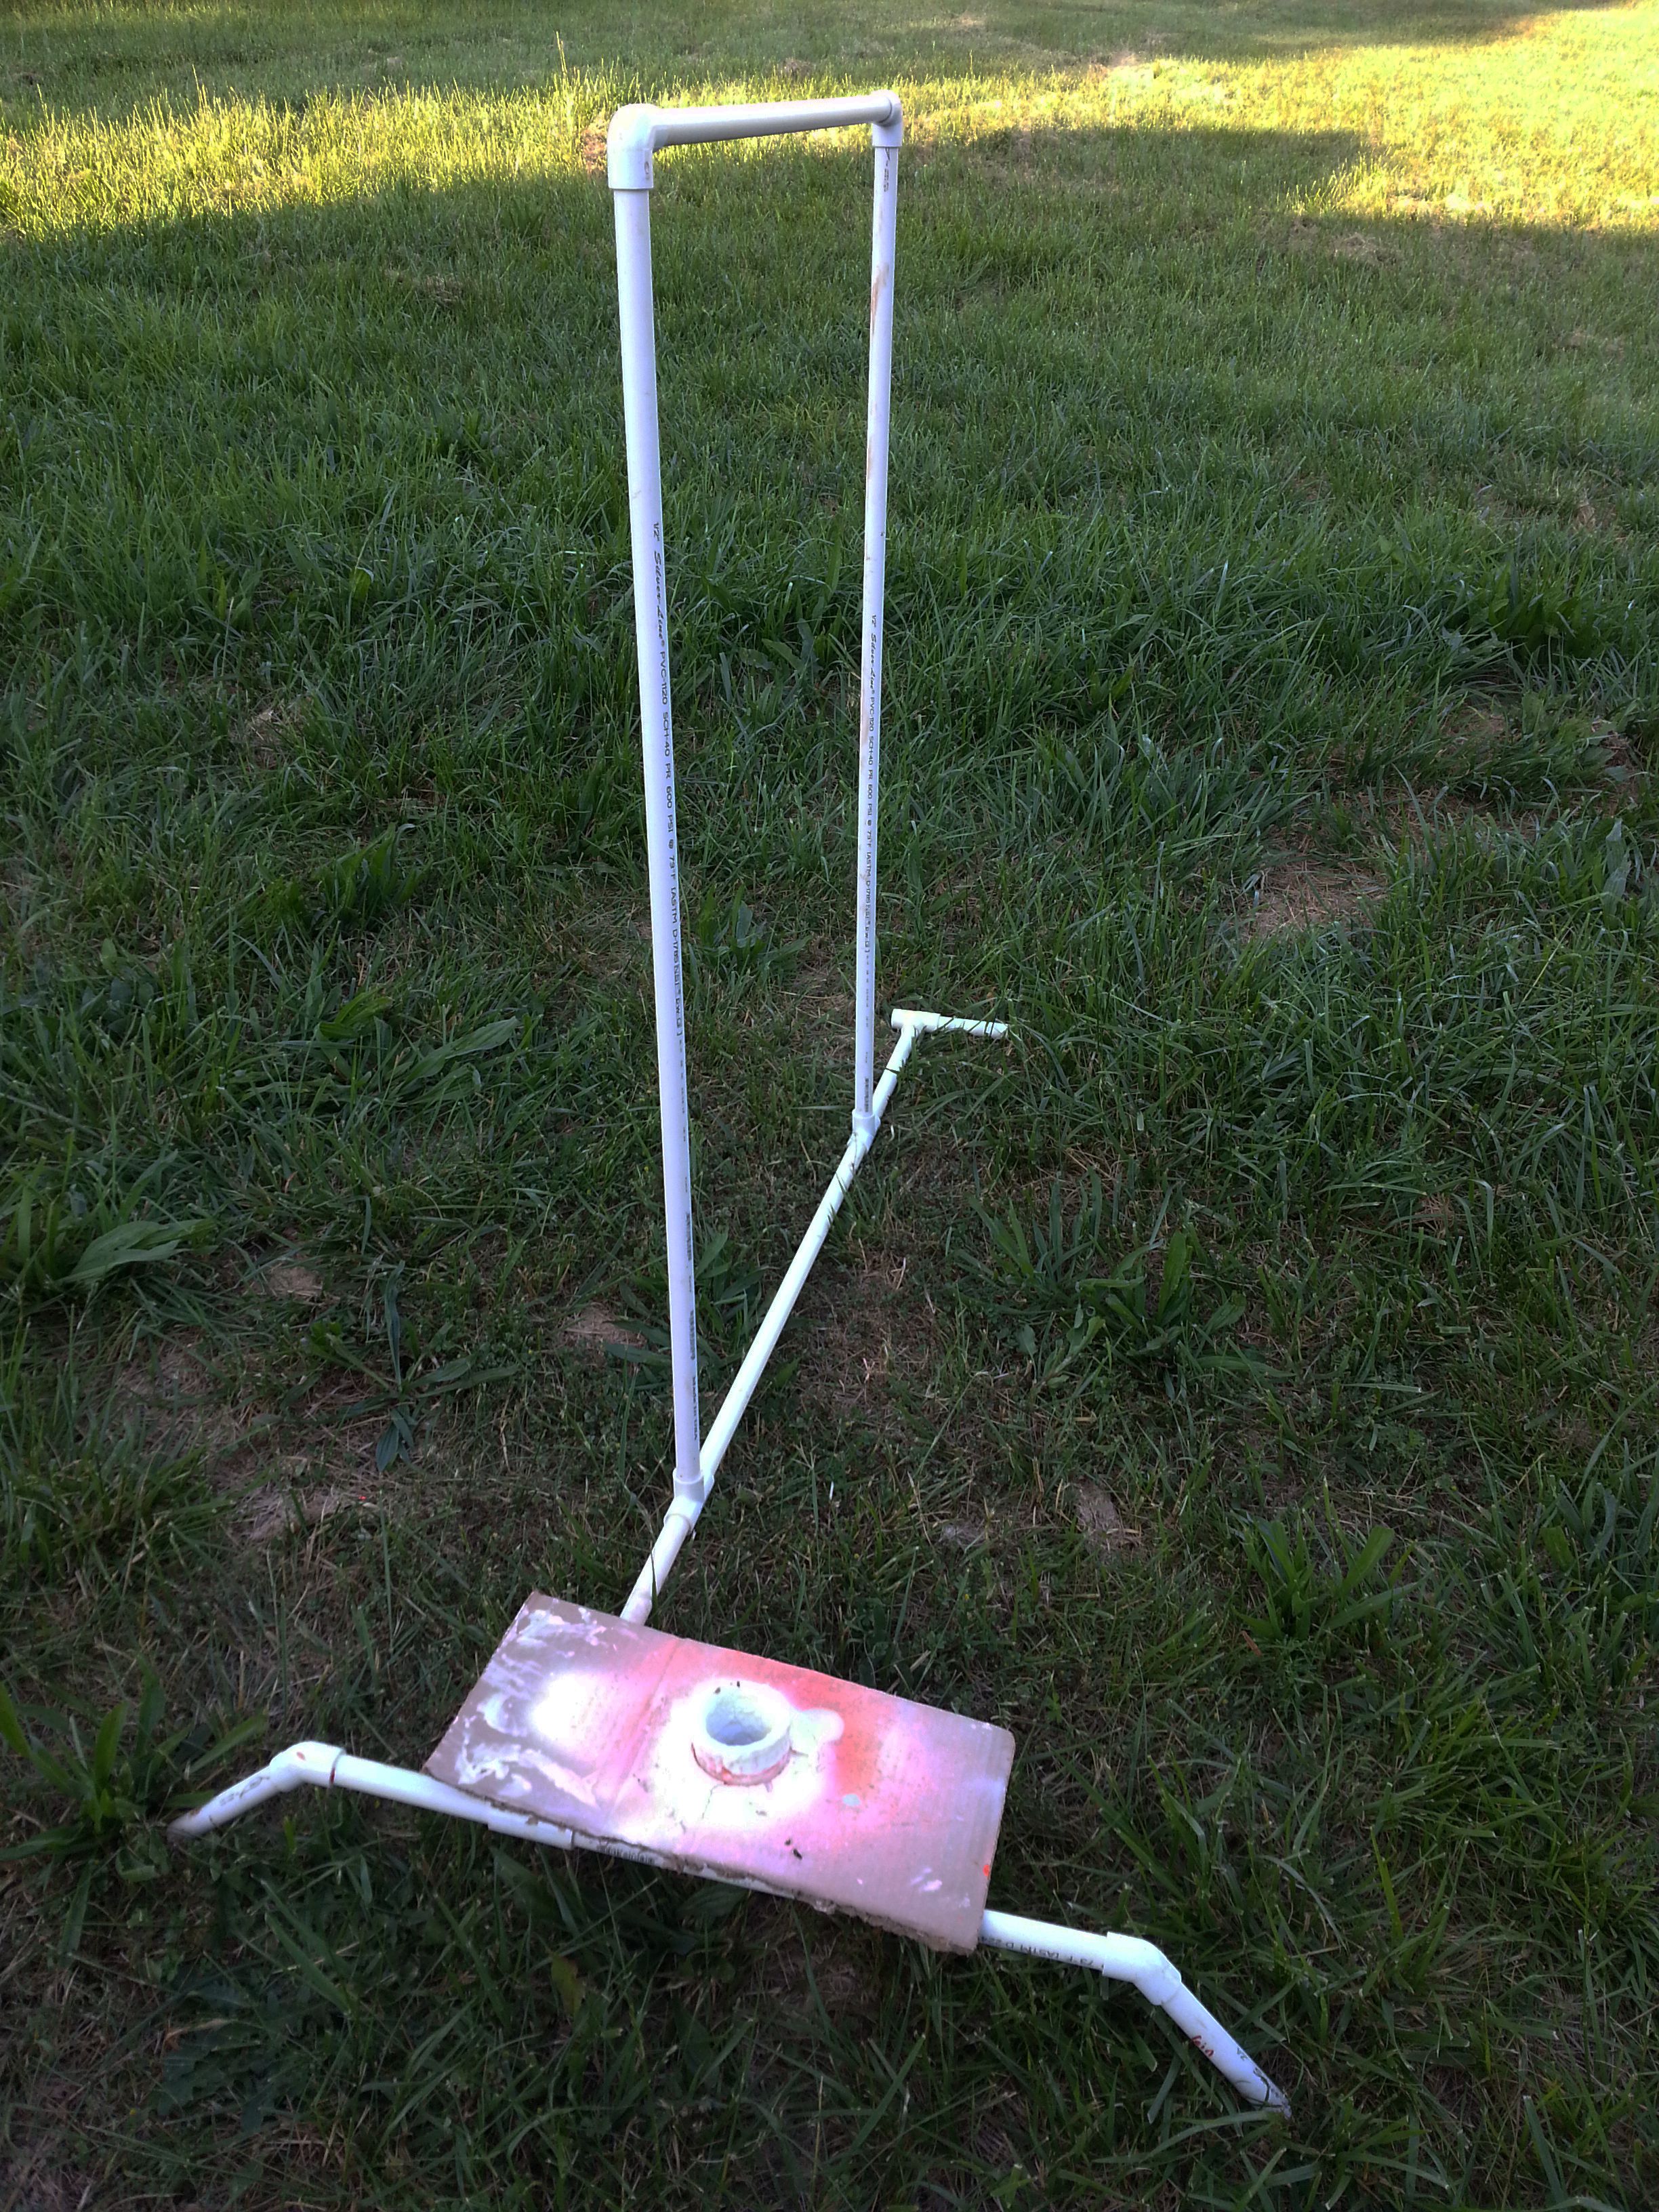
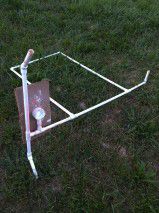
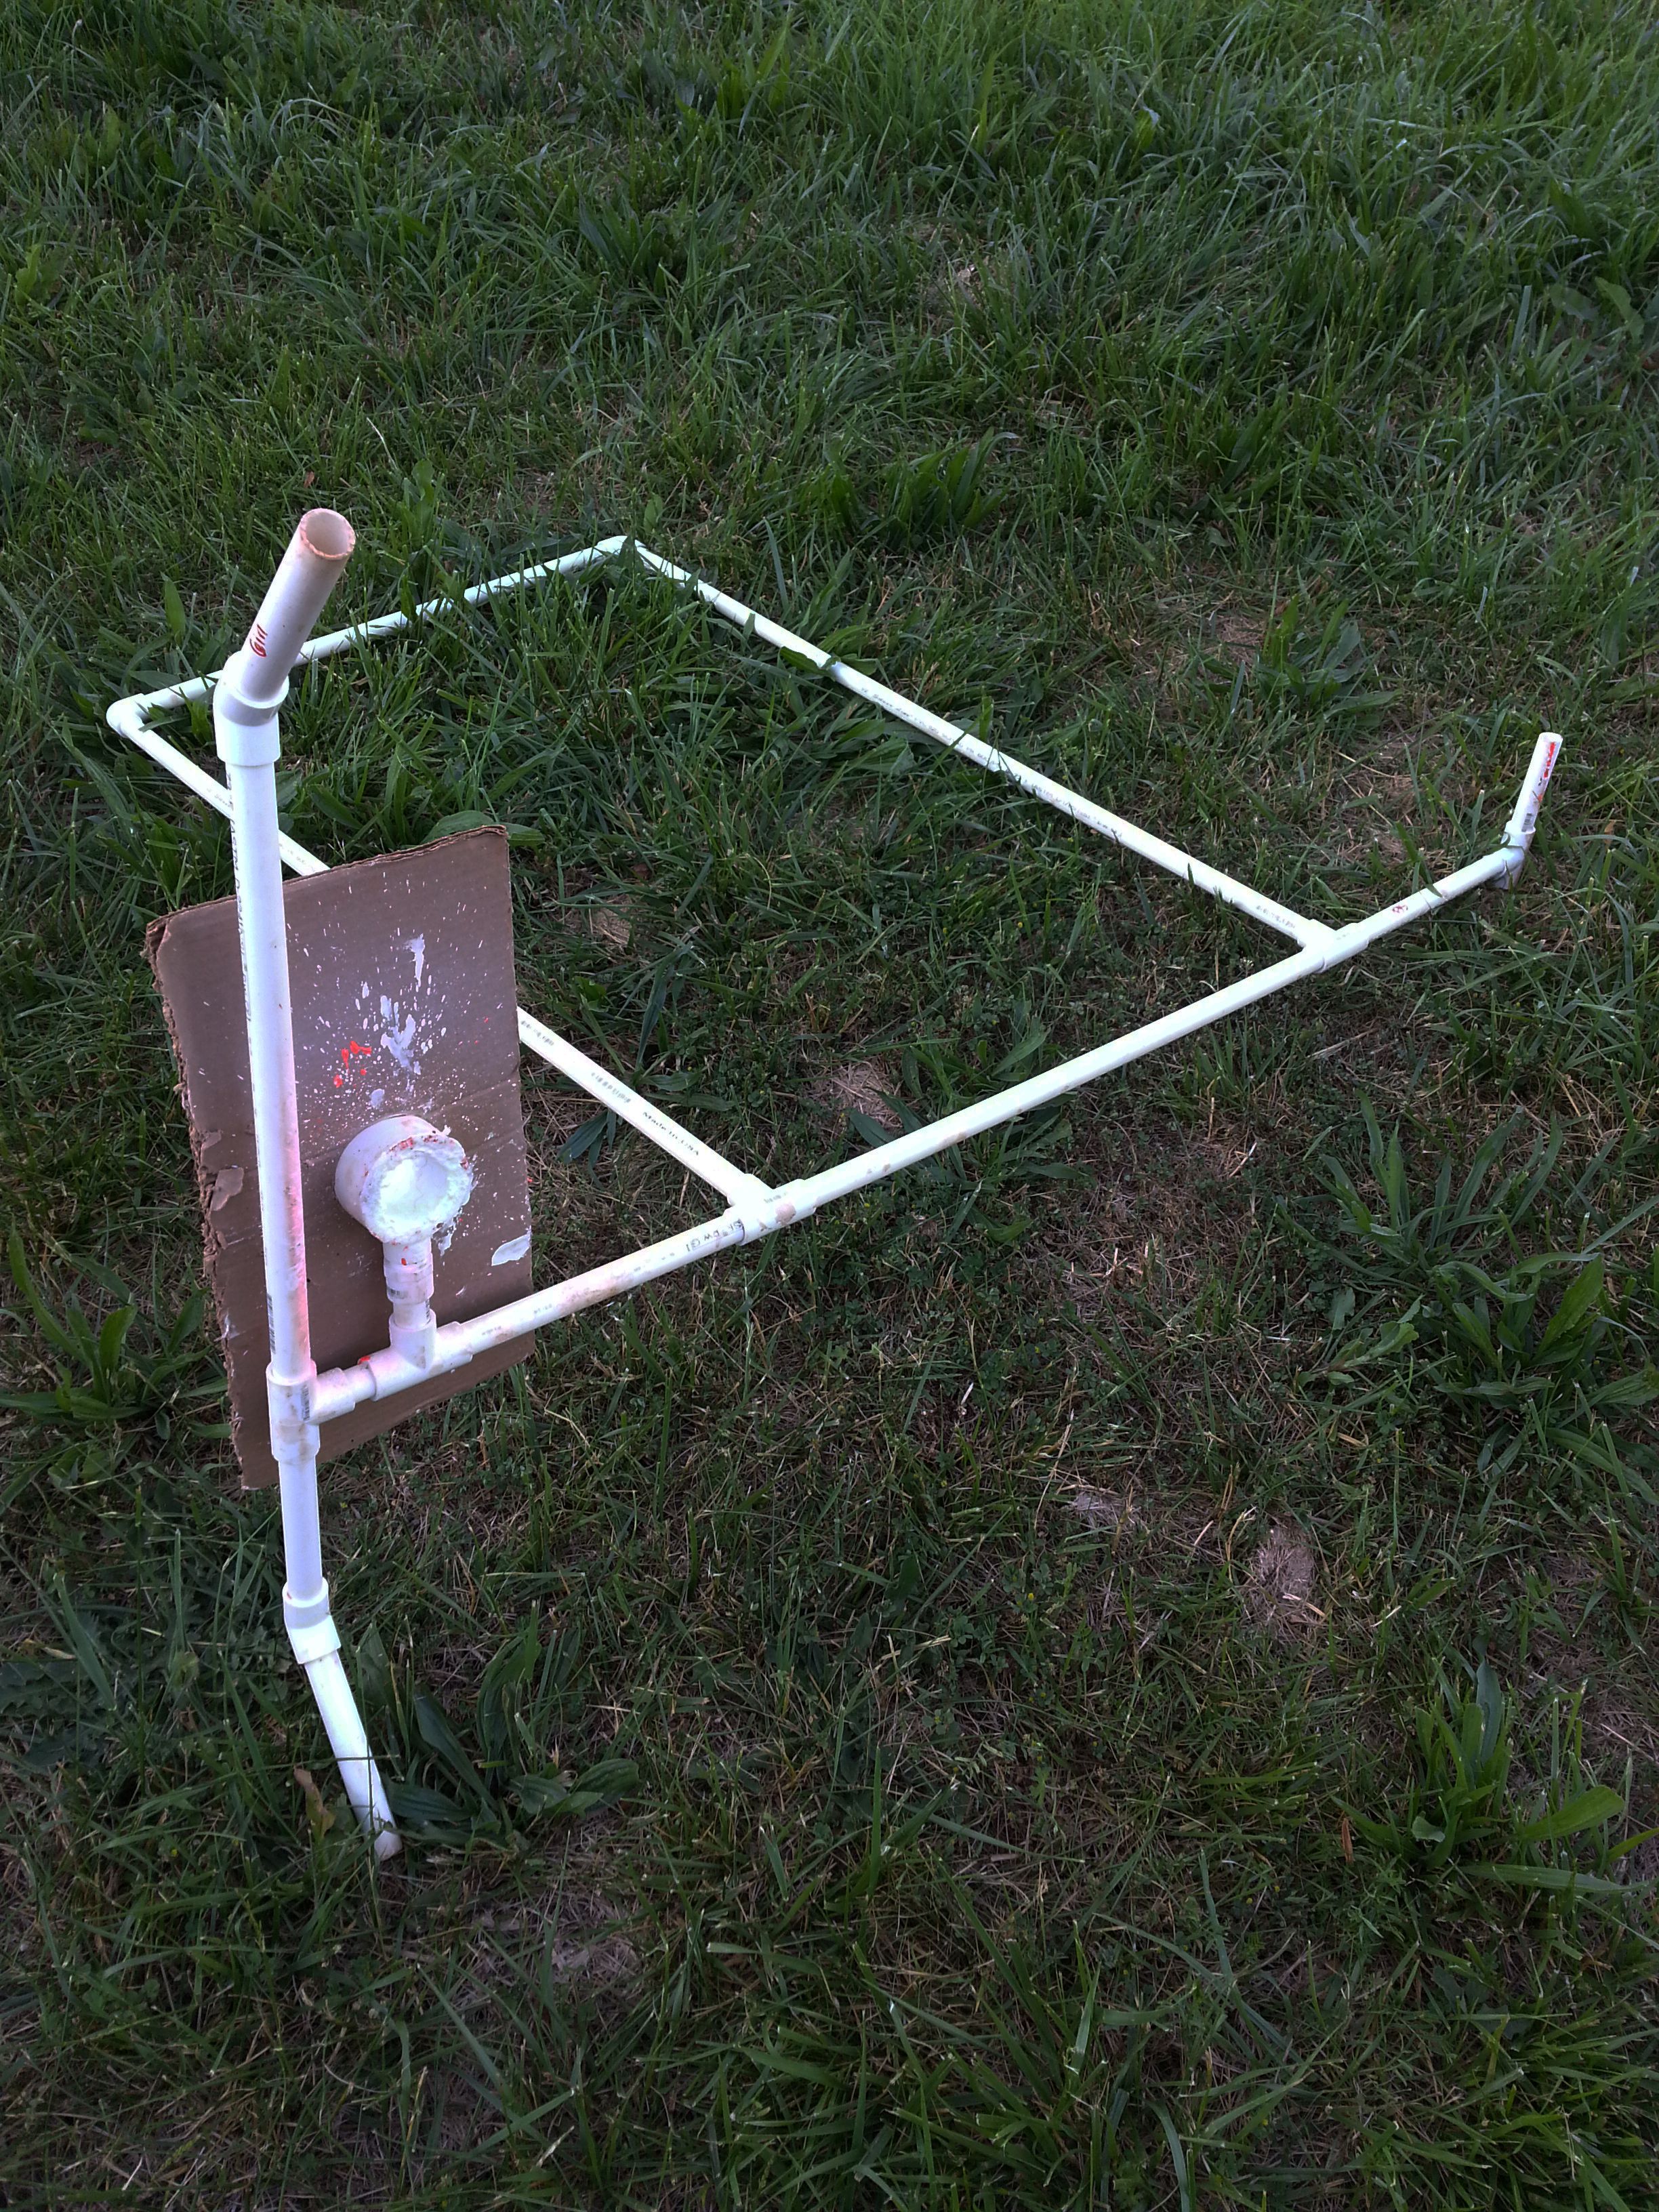
Now that the beds were done, we had to have a way of actually marking where the plants should go. We knew we wanted a specific number of feet between the plants……but how to measure that on the bed? How to mark that on the bed? How to do this without killing our backs?? You make a contraption out of PVC! The base was the specific length between plants and had sides to make sure we were in the middle of the row. It was PVC so I could start at 5 foot spacing and then cut out a foot and change to 4 foot spacing. It even had a handle so we didn’t hurt our backs. 🙂 And what happens when the spacing changes on the next row and you forget to change your contraption? You get another color of spray paint and do it again….

-
- Underneath of the contraption.
-
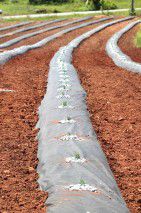
- Marked rows.
-
- Opps! Forgot to change from 5 feet apart to 4 feet apart for the next cultivar….used orange for the correct distance.

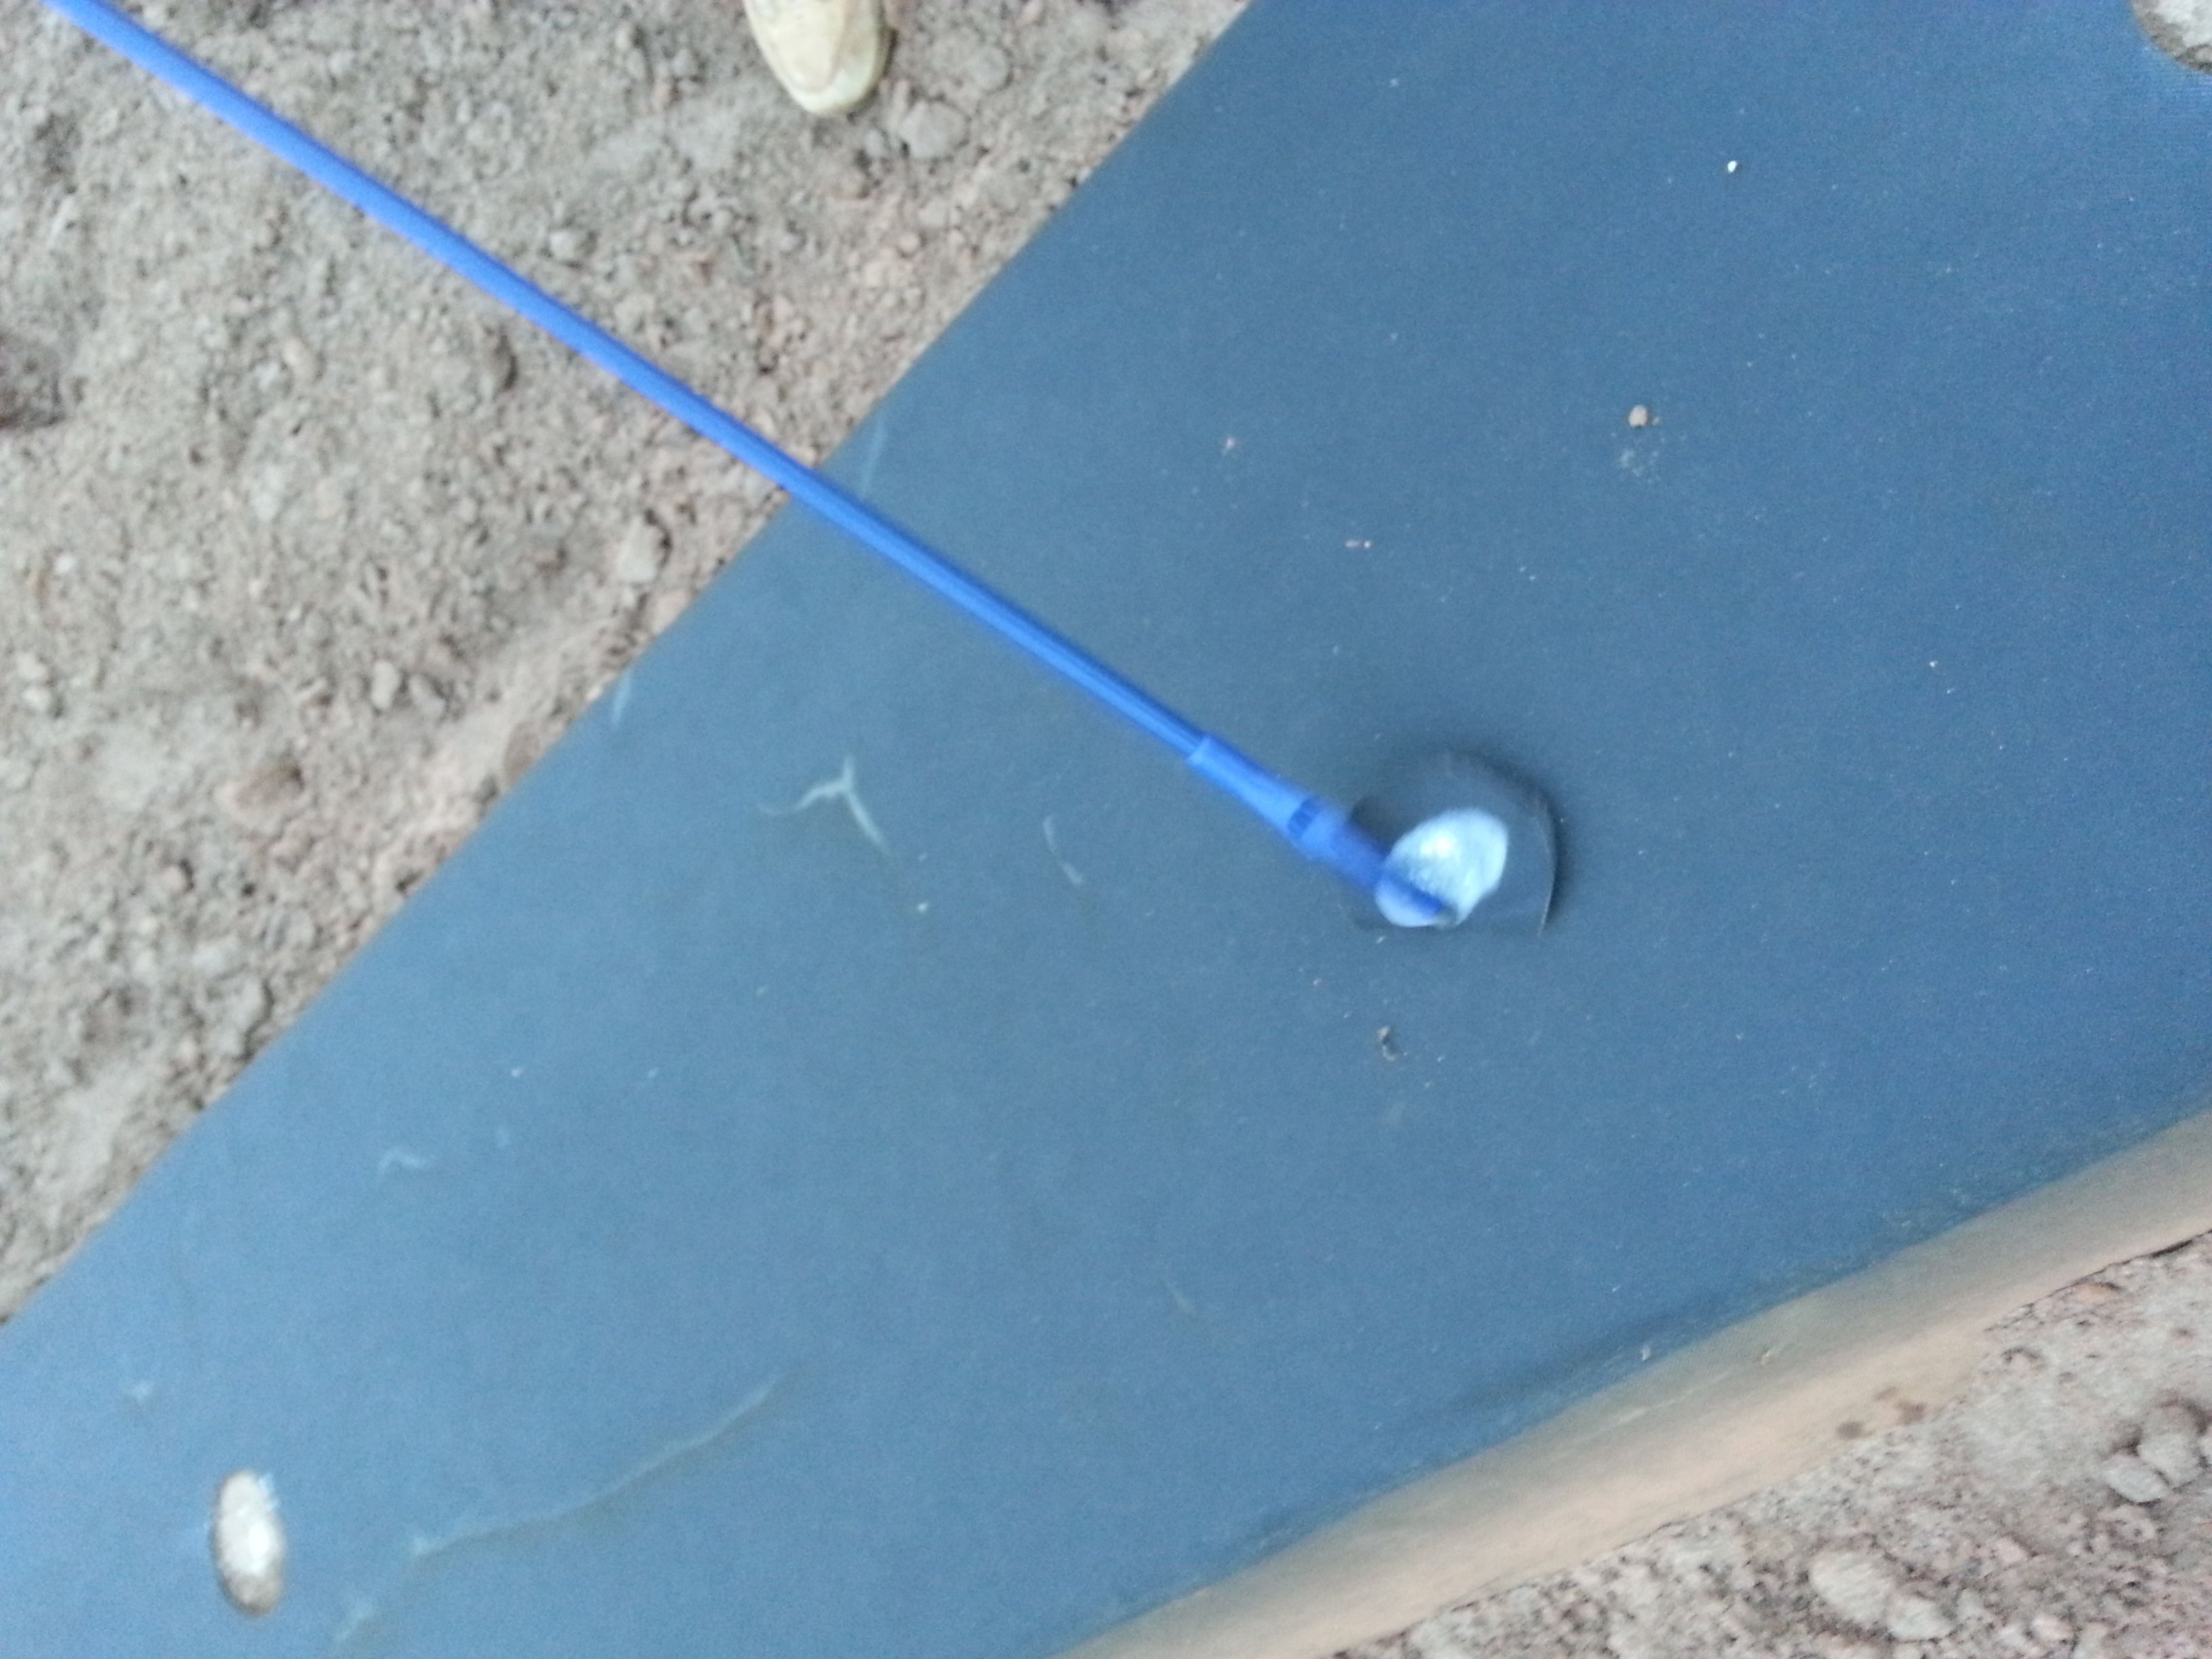
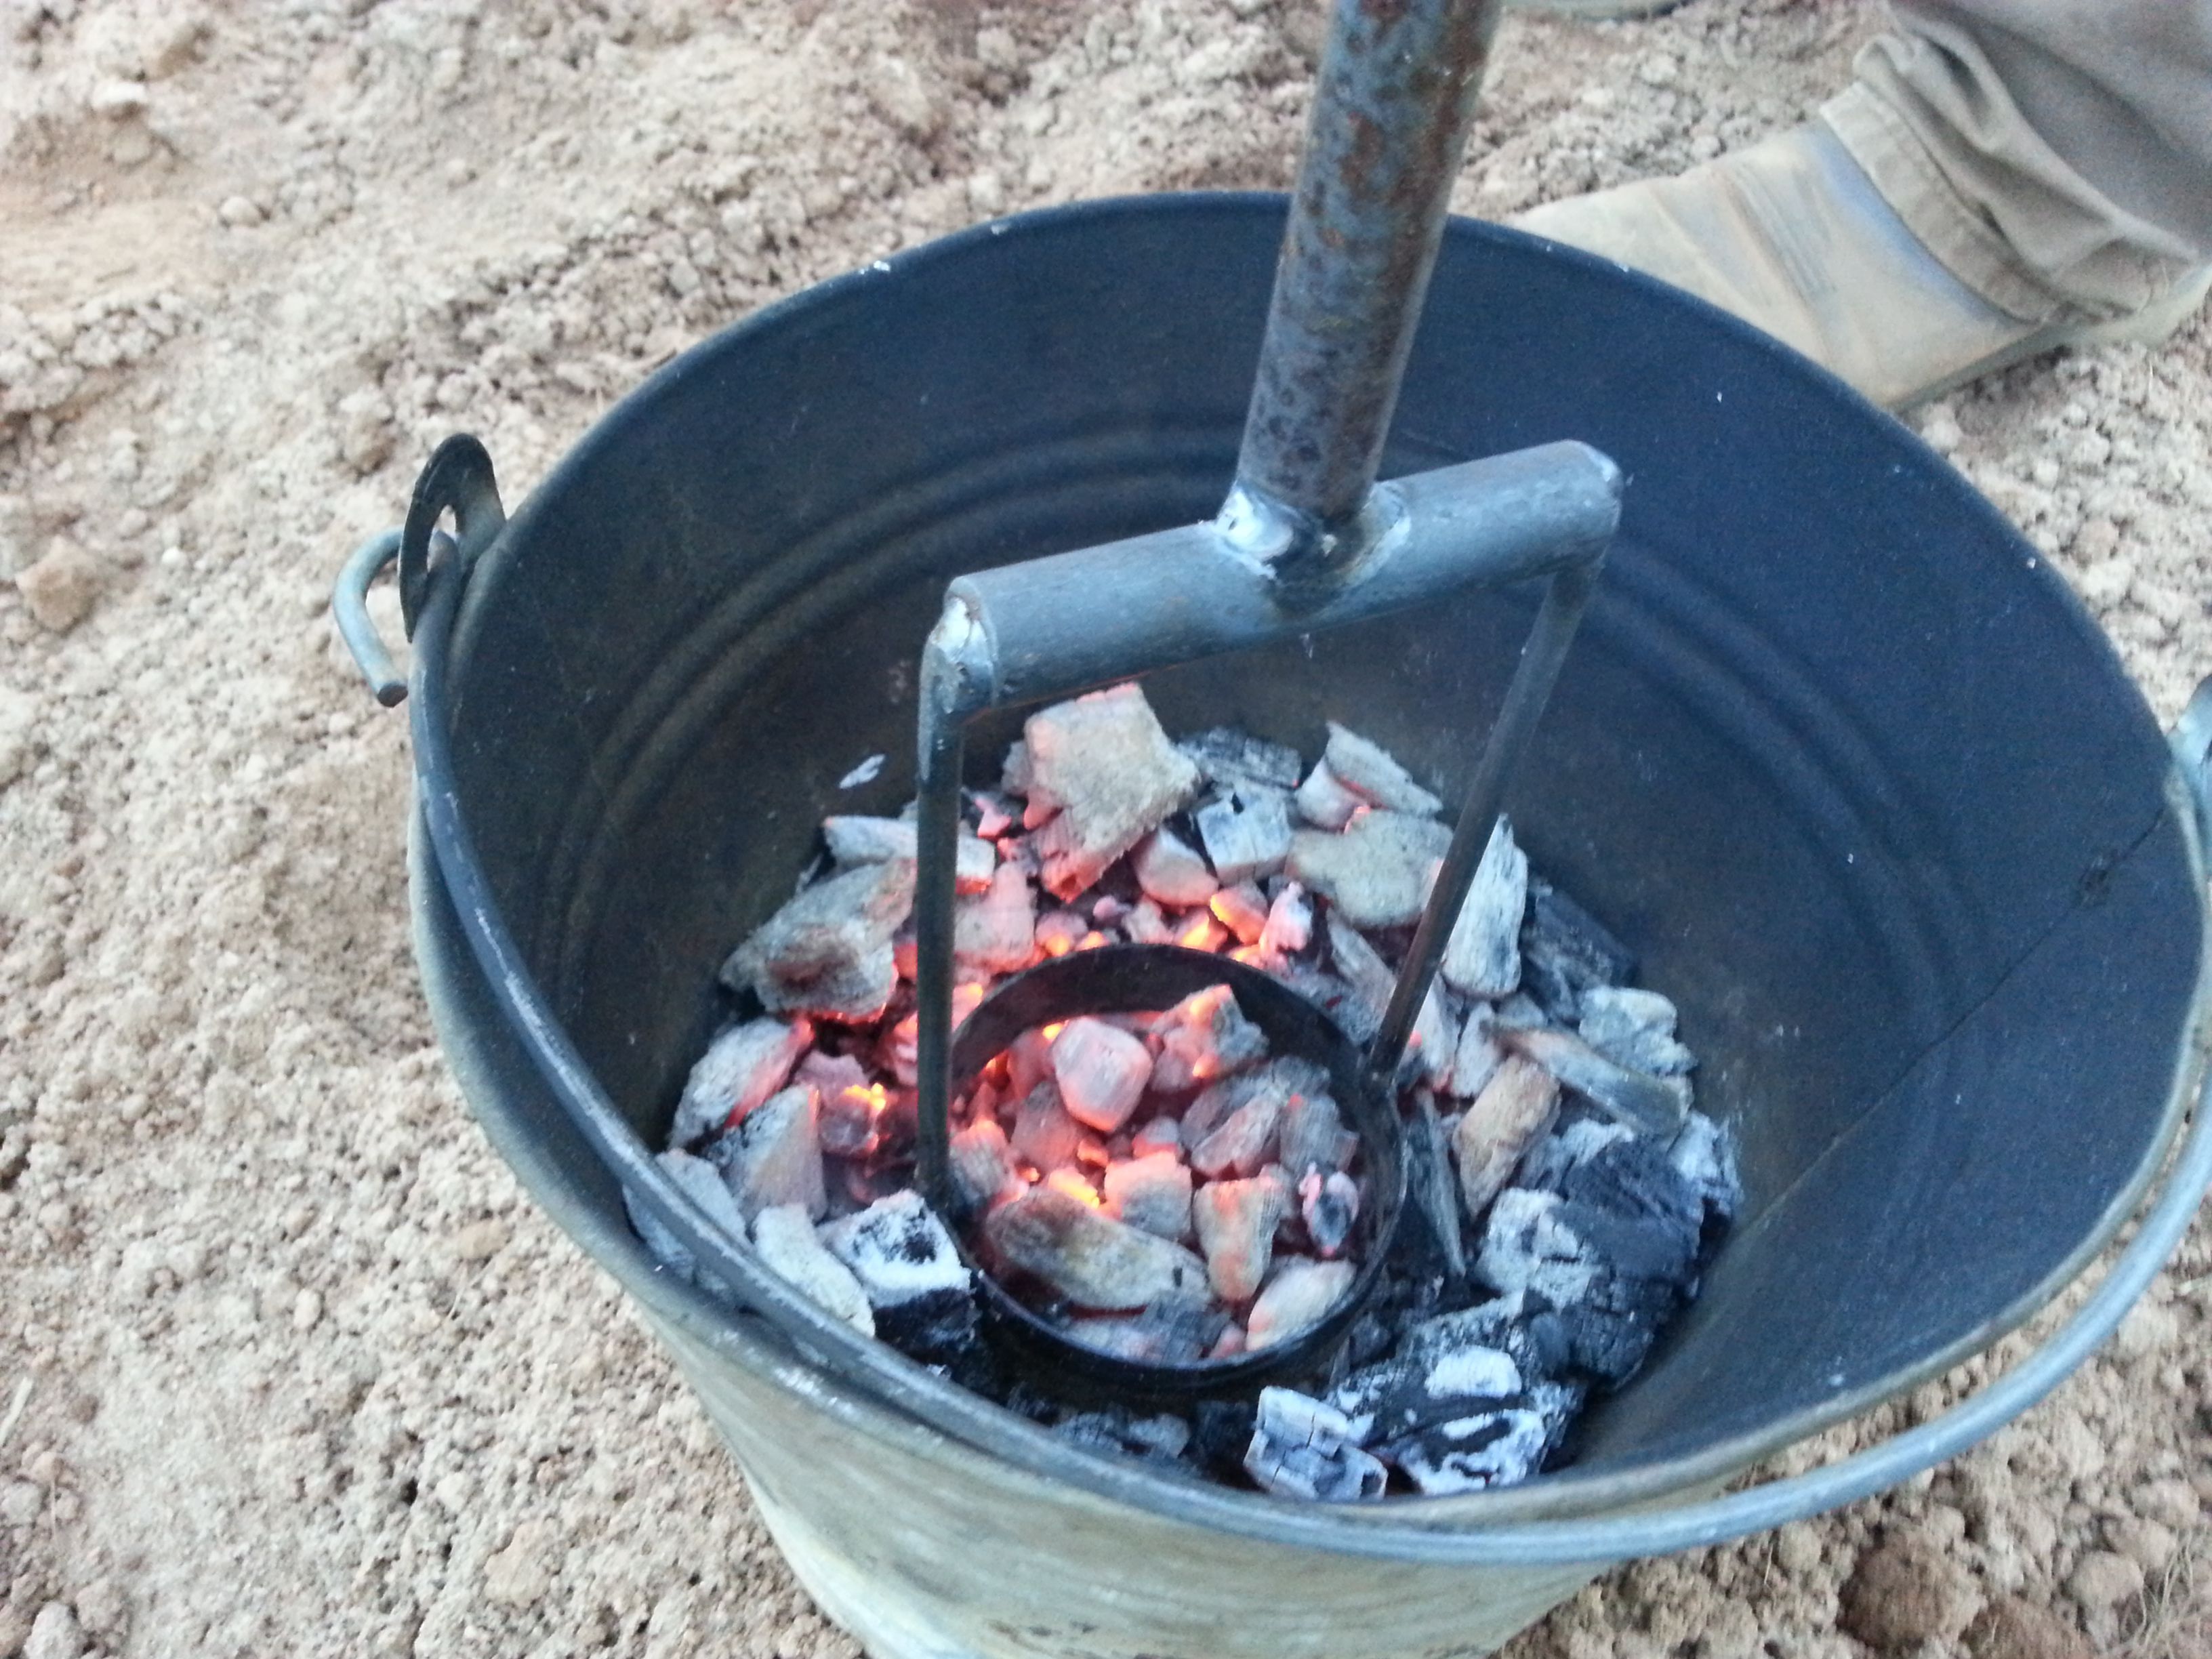
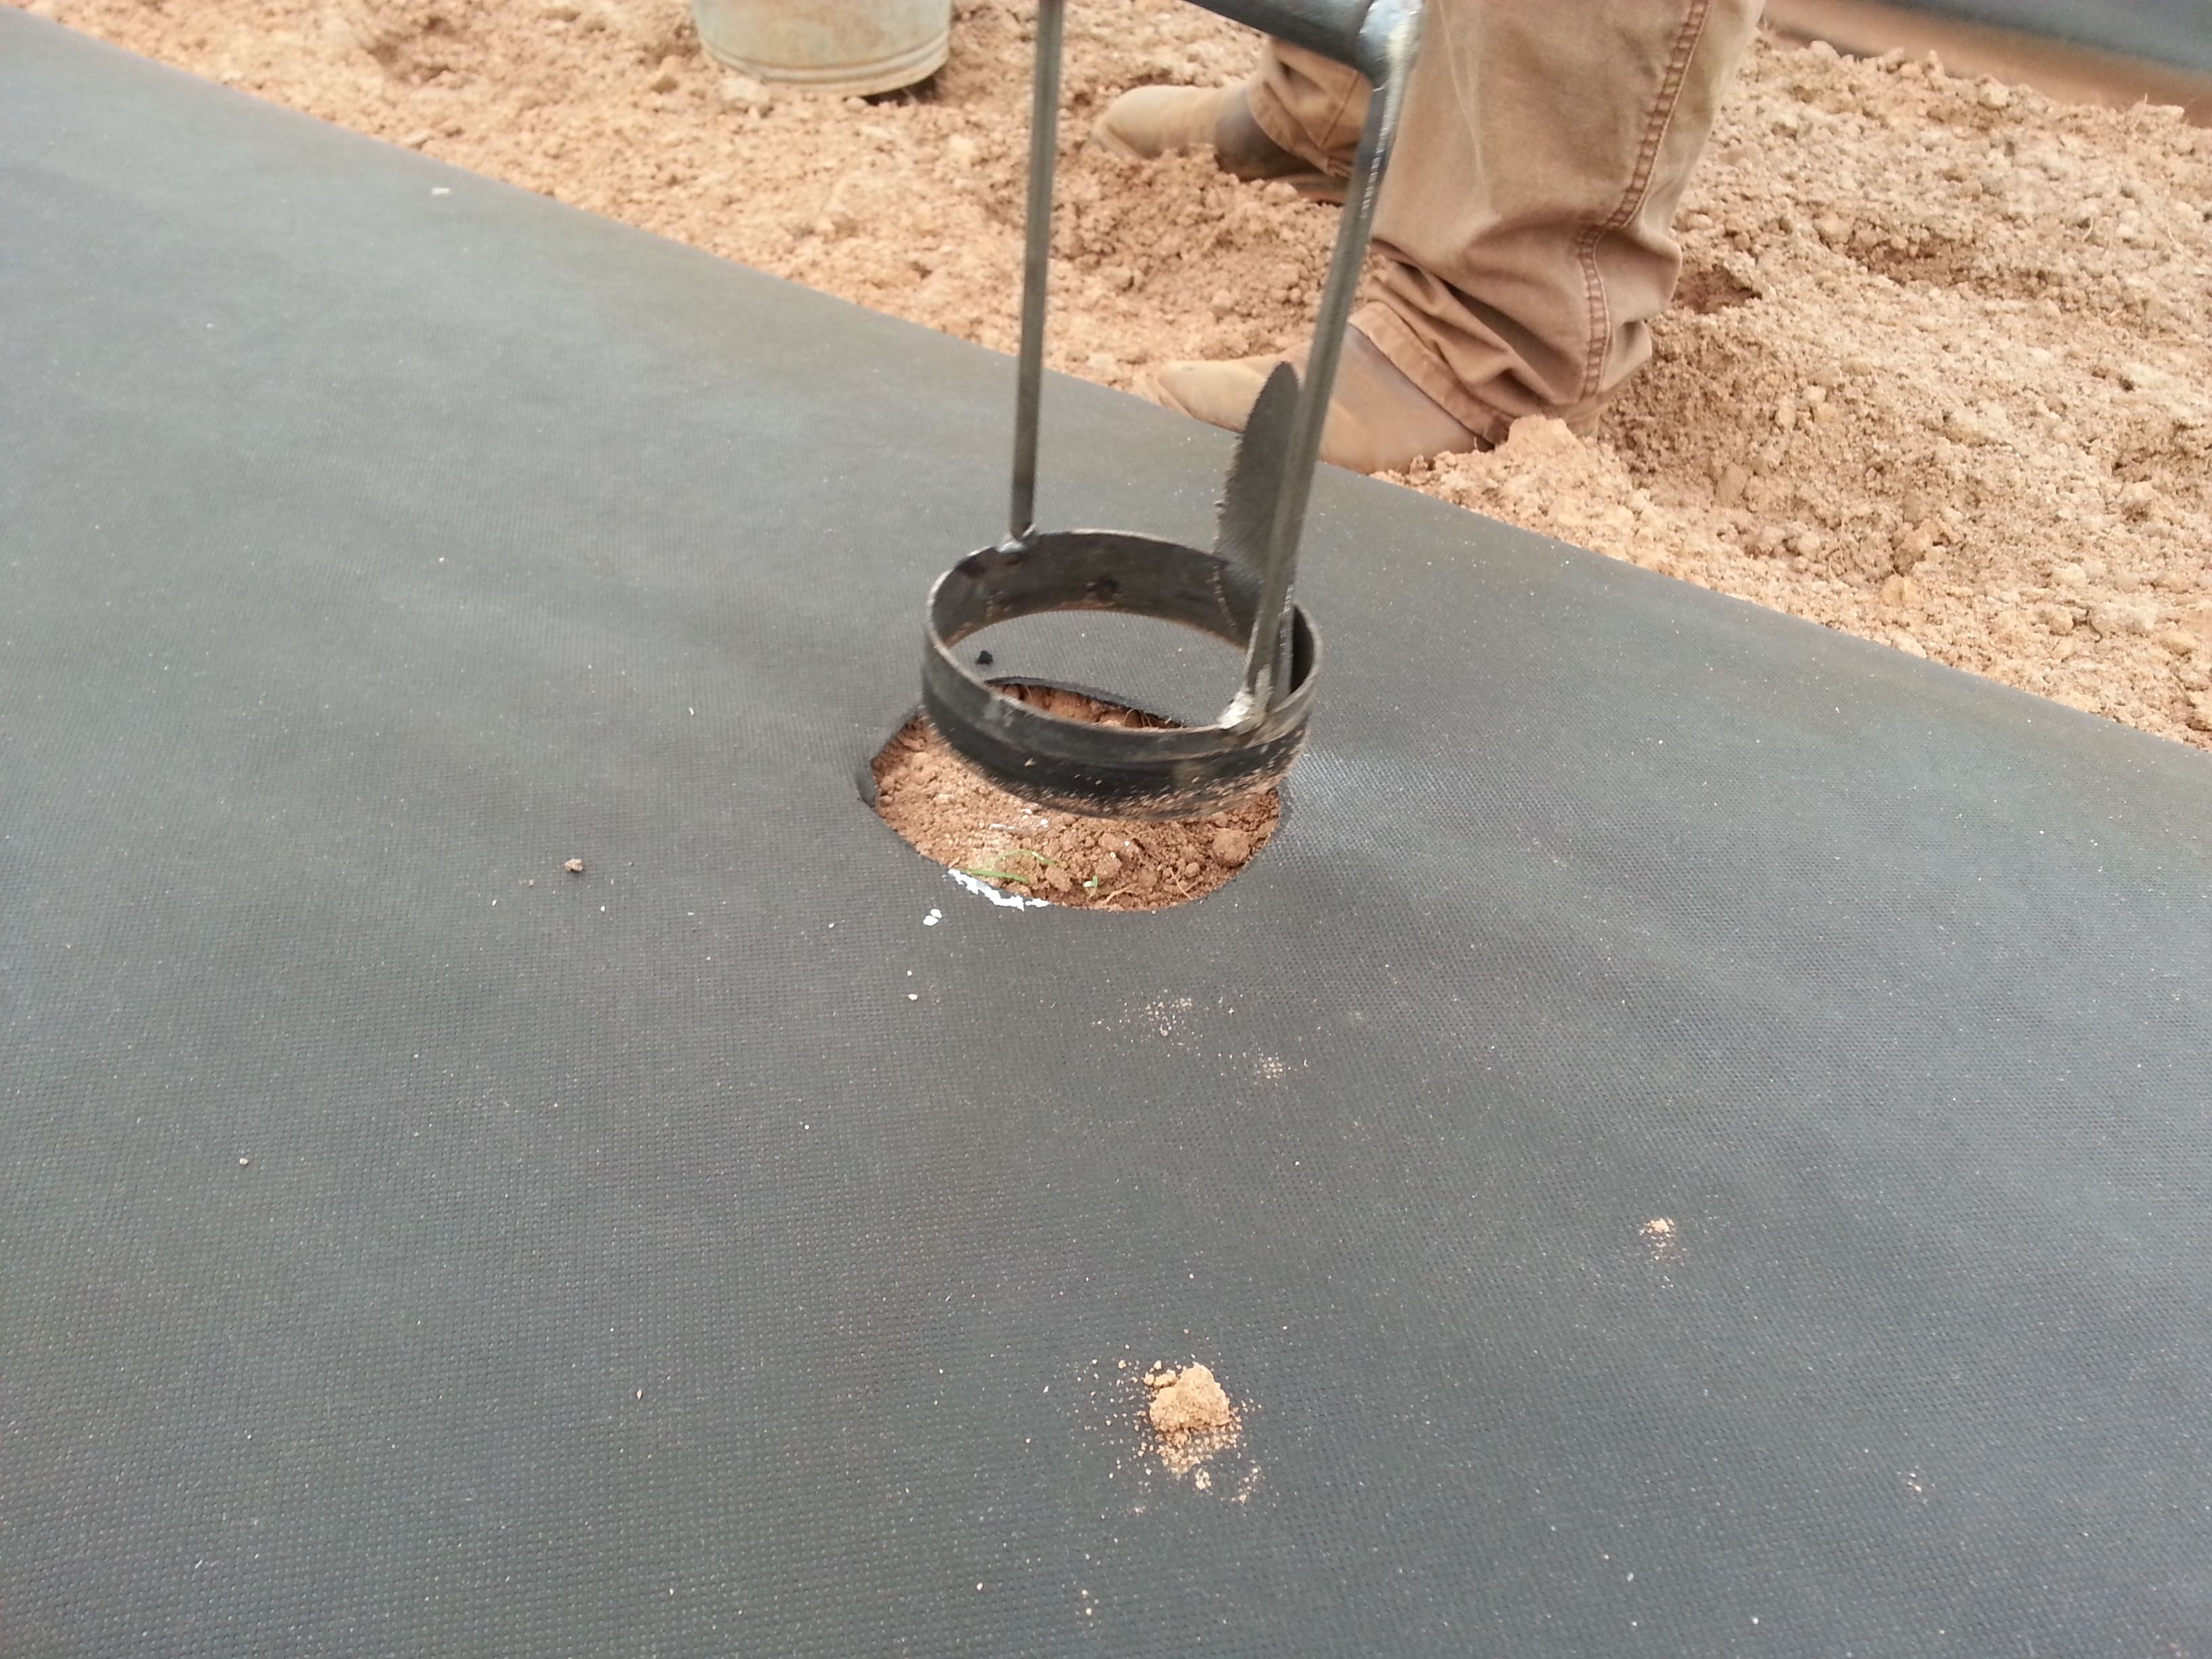
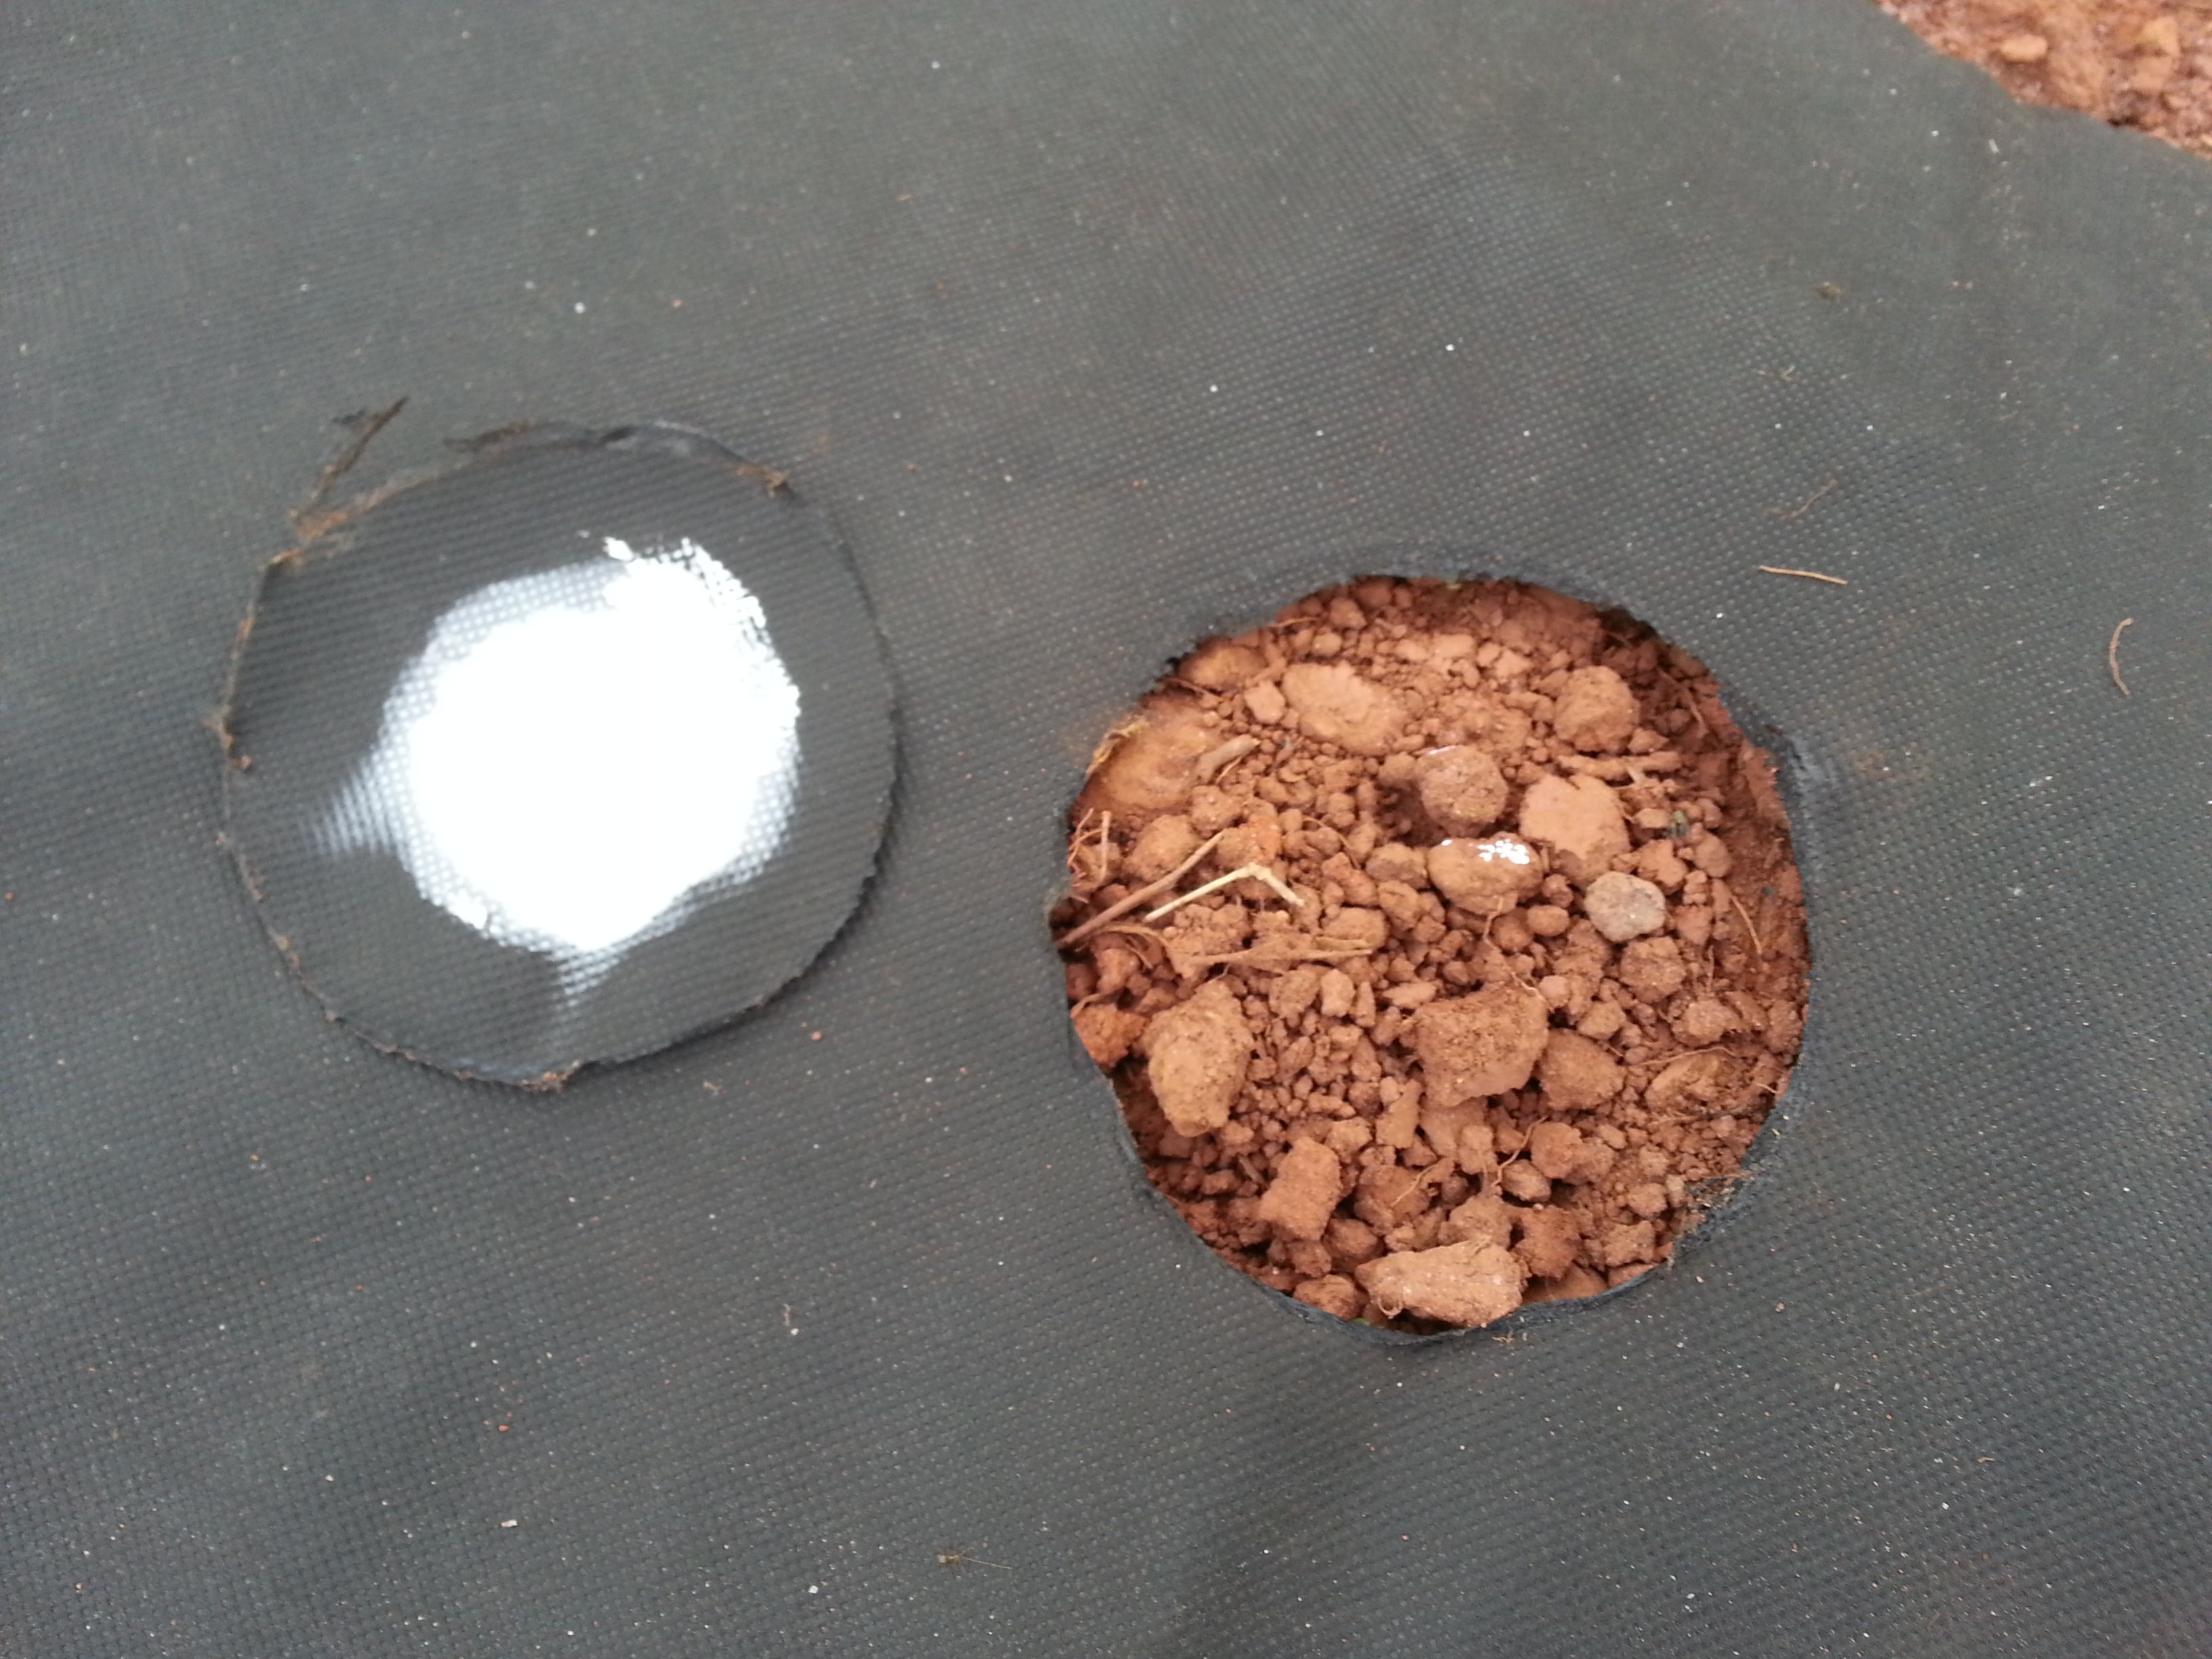
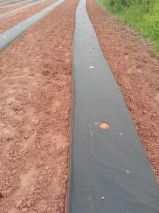
And once allll those holes were marked…..how do we get the actual hole? Cut the fabric in an X shape? Use a weed burner to “flame” the hole – and to what size? We knew we wanted something like a 4, 5, or 6 inch hole, so I asked other USLGA members what they did and a 4 inch hole was the majority answer. And we tried a weed burner and didn’t like the uneven, tatty results. So a friend made us a “brand” – really, that’s basically what it did – branded the fabric. Once it was heated up, it went *fast*. The holes are all the same size, shape, and have very clean edges. The brand had a handle so no back aches! Oh, and don’t forget…you have to pick up all those pretty, perfectly formed holes!
-

- The weed burner test is on the right, brander test is on the left.

-

- Inside of hole and hole!
-
- Burned row.

-

- Picking up the insides.